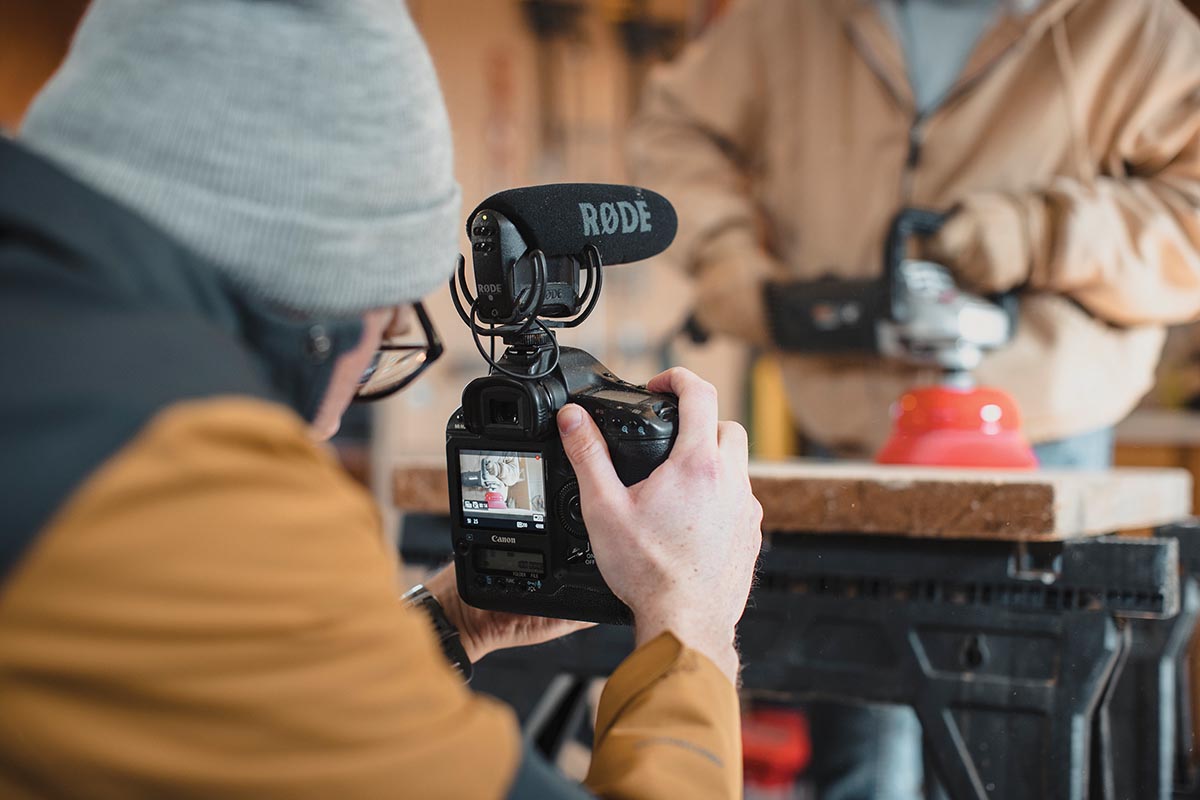
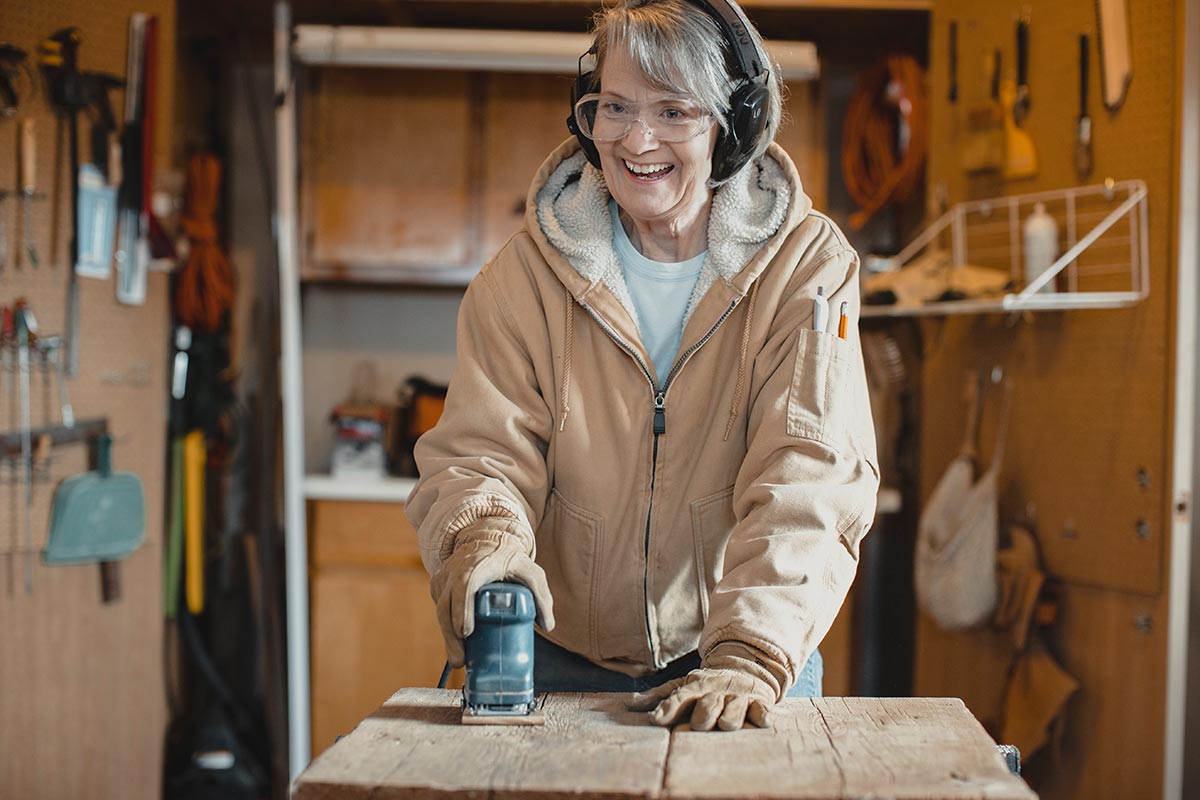
If you’re looking for ways to increase your social game or give clients something extra, video is a great place to start. And it doesn’t require big upfront costs to get into. In fact, by the end of this article, you’ll have a better understanding of what camera settings to use and, more important, the confidence to pick up the camera—one you already have—and start creating videos.
In my first job as a photojournalist for USA Today, video was the primary focus of storytelling; stills were secondary. That was 2016, and look how far we’ve come in digital video technology since then.
When it comes to shooting video on your mirrorless or DSLR camera, the three most important settings are frames per second, shutter speed, and color profile.
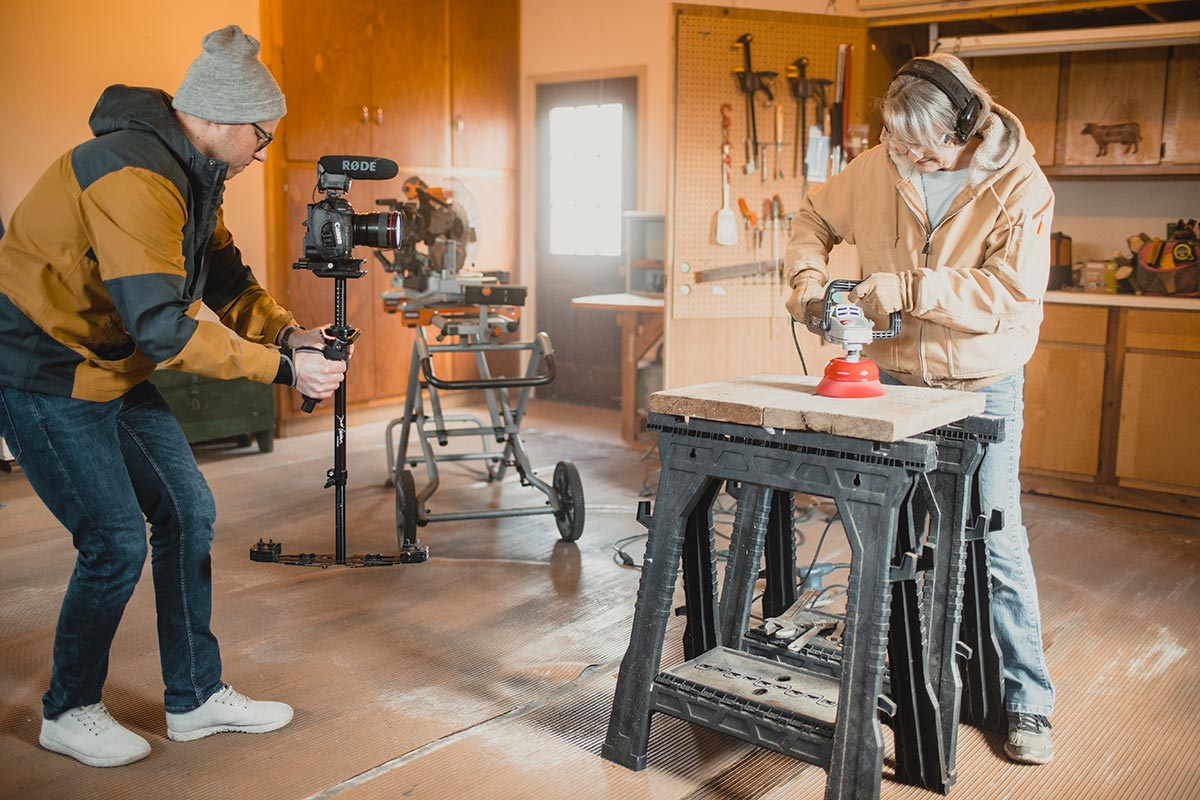
You don’t have to have a gimbal, microphone, and stabilizer to get started taking video. Begin exploring and learning with what you already have.
FRAMES PER SECOND
You’ve heard the term cinematic, as in, having the qualities or characteristics of motion pictures. Another way to describe it is as a feeling. When you watch a motion picture, you feel something. You fall in love with characters or despise them because, among many other elements, the sound and motion were designed to create these emotions in you. Something that’s cinematic simply means it was created with a purpose to draw out specific emotions in the viewer.
Here’s how shooting cinematically applies to frame rates:
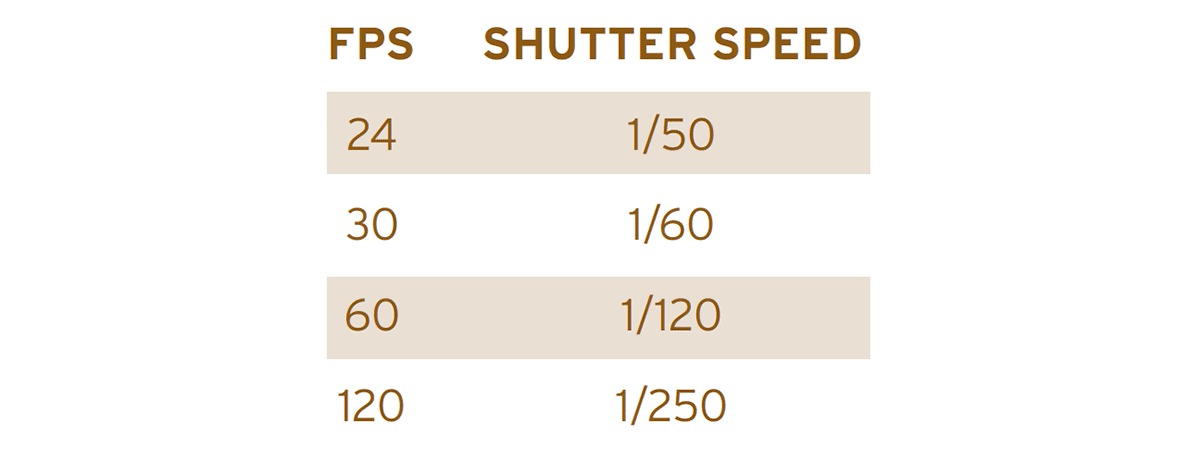
- 24 fps: A typical frame rate used in films, hence the term cinematic (because it carries film-like characteristics).
- 30 fps: The standard for broadcast television.
- 60 fps: 60 fps or above is used for slow-motion capture. However, videos made at this frame rate are usually edited or viewed at 24 fps to produce a more natural look.
I typically capture video at either 24 fps or 60 fps and above, depending on what I’m doing and what kind of result I envision.
Let’s say you want to take some video while you’re photographing an elopement or an engagement session. The sun is setting, backlighting the couple and giving you nice flare. If your camera is equipped with presets, this would be a great time to switch over to your video preset and grab a few seconds of the couple kissing as the sun sets behind them.
In this case, I would capture at 60 fps, especially if I’m handholding the camera. A 60 fps frame rate will allow you slow down the footage in post-production, giving your video a smooth, polished look. If that’s more post-production than you want to commit to, you can take the video at 24 fps, and it will still look great. The goal is to just start making video. The more you do it, the more comfortable it becomes.
With fps in mind, let’s determine the corresponding shutter speed for each frame rate.
You can do a lot with the same subject by taking video at different distances, high and low angles, and various positions around the subject. Find ways to let the light help make the shot even better.
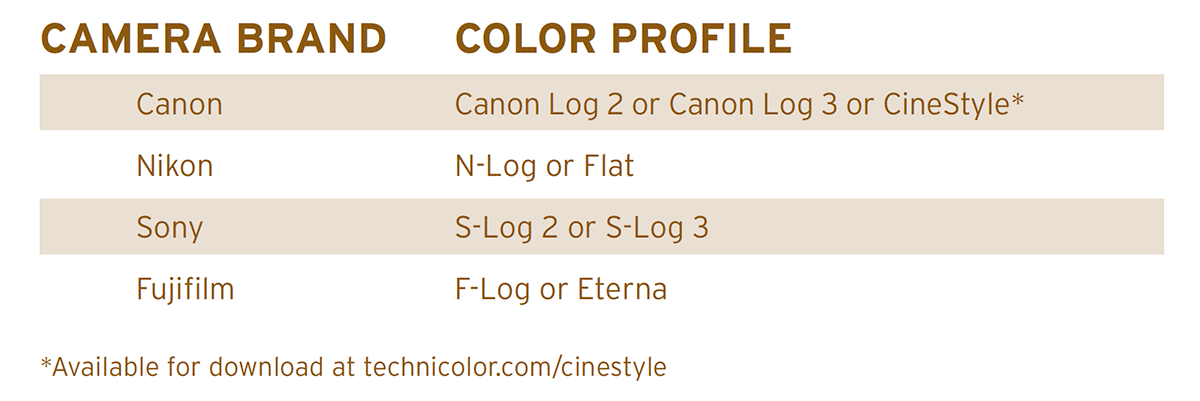
COLOR PROFILE
Let’s talk about color profiles built into your mirrorless or DSLR camera. This is a lesson I learned the hard way.
I was sitting in the back of a Black Hawk helicopter during a military training exercise, and one of the crew members was looking out the open back door. The moment couldn’t have been better. Being young, and understanding very little about video at the time, I decided to capture some video using a black-and-white color profile on my DSLR. It played back great on my camera’s LCD, and I even thought, If I don’t like it in black-and-white, I can just change it in post just like I do my raw images. I couldn’t have been more wrong. To this day I still look at that video clip and ask myself, What was I thinking?
If you intend to color grade your footage, please, please, please, learn from my mistake and capture in the flattest color profile available on your camera. You’ll thank yourself later. Remember, the color profile you select for capture is going to stay with your footage just like it does with stills. To determine which color profile is best for you, use this chart below as a quick reference.
Technicolor CineStyle is a flat color profile (for Canon users if your camera doesn’t have Canon Log) that you can download and install on your camera.
TWO TIPS
Two things to keep in mind when you switch over from stills to video: Motion evokes emotion, and hold the shot for at least 10 seconds.
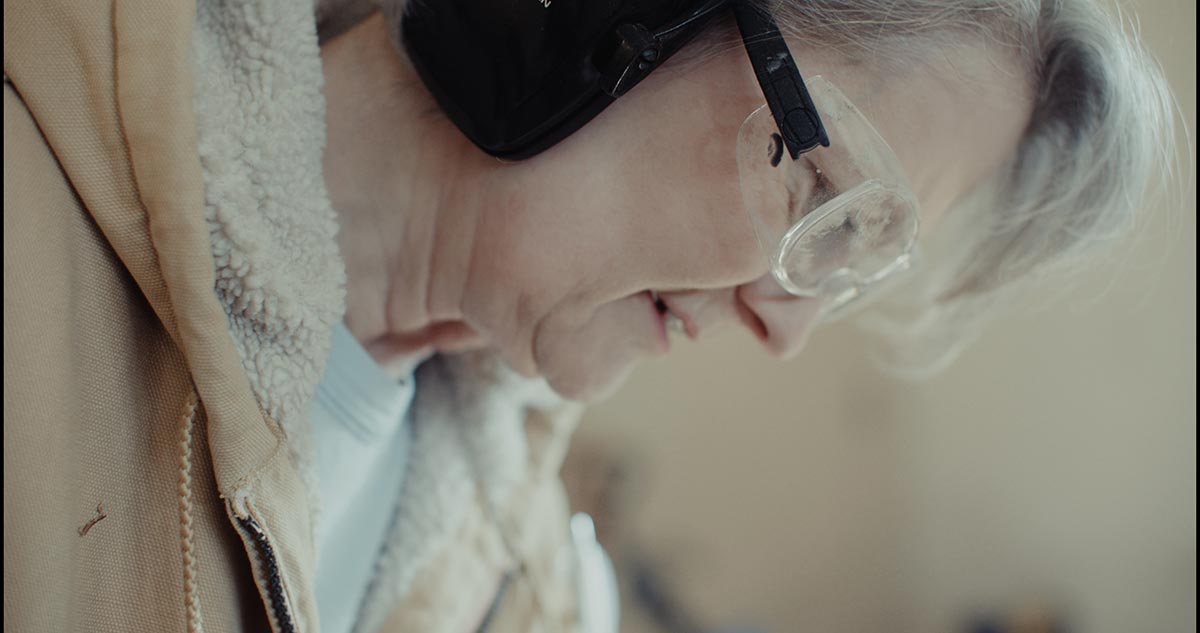
Whether it’s panning left to right or starting downward and panning up, use motion to evoke emotion. If you’re photographing a high school senior, capture the subject getting into the pose by incorporating a little bit of camera movement. Try capturing the in-between moments that lead to the hero shot.
When it comes to recording time, give yourself some wiggle room by capturing clips that are at least 10 seconds long. A 10-second clip—minimum—will give you something to work with in post-production.
Tyler Rickenbach is a filmmaker and photographer based in Idaho.