
The seeds were planted early for Ethan Beckler to explore the extreme macro world. Beckler’s father, Jeff Beckler, was a master optician who designed lenses for the aerospace industry, which were integrated in fighter jets and in deep space probes. Lenses that were less than perfect often found their way home for Beckler and his brother, who peered through the lenses at a world many people don’t get to see. Thus began his fascination with exploring a smaller world. Insects, including ants, were a particular joy to view (but never harmed, he testifies).
Primed with this eye for tiny detail, Beckler found inspiration during a snow storm. “One day I saw a snowflake fall on the wrought iron fence that surrounded our koi pond. I was just looking at it and thought, I’ve got to be able to photograph these things.” That was the start of Beckler’s quest to photograph tiny worlds.
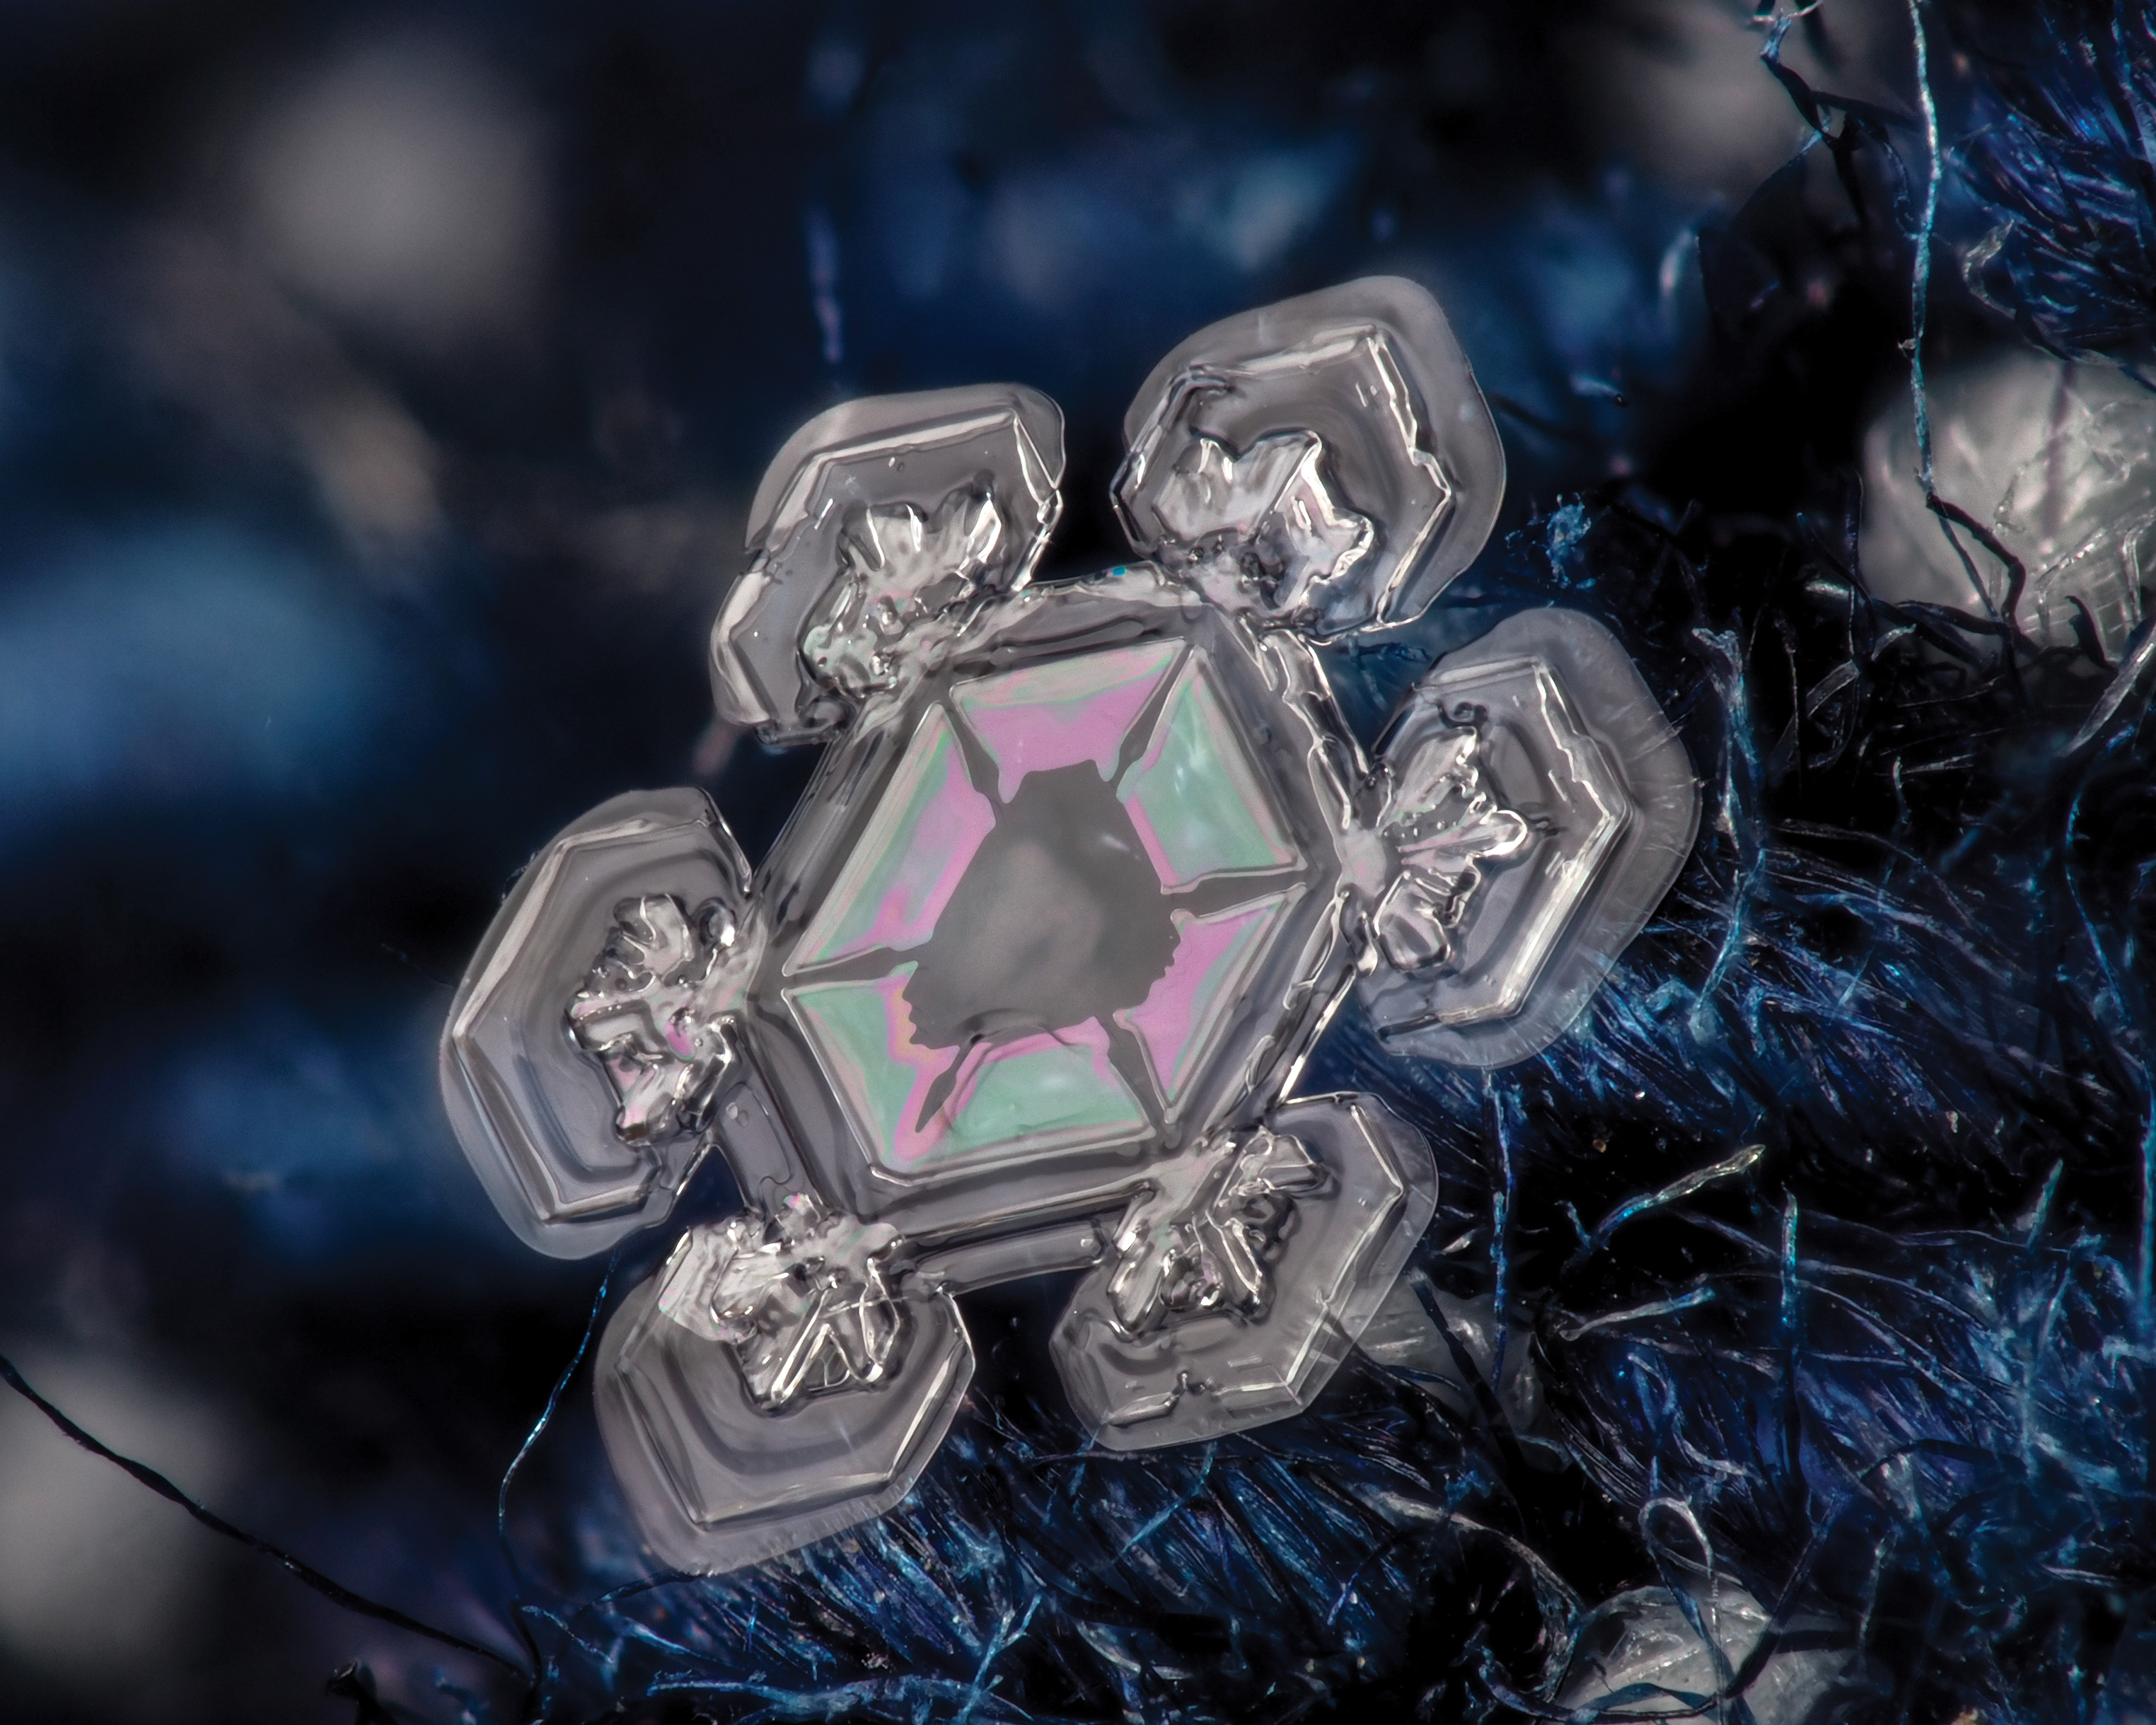
This stack of fewer than 120 images captures a snowflake about 2mm wide, shot on denim material. The pink and green color in the center is caused by the natural phenomenon of thin-film interference affecting the way light waves are reflected.
GEAR
Beckler first tried using an iPhone 5 with an Olloclip macro attachment. Because he wasn’t achieving the results he envisioned, he sought out more suitable gear. He managed better results when he stepped up to Panasonic’s Lumix FZ1000 4K QFHD/HD 16X Long Zoom camera, followed by the Lumix FZ2500 fitted with Raynox macro attachments. This yielded stronger images, but he still couldn’t fill the frame with his subjects the way he wanted.
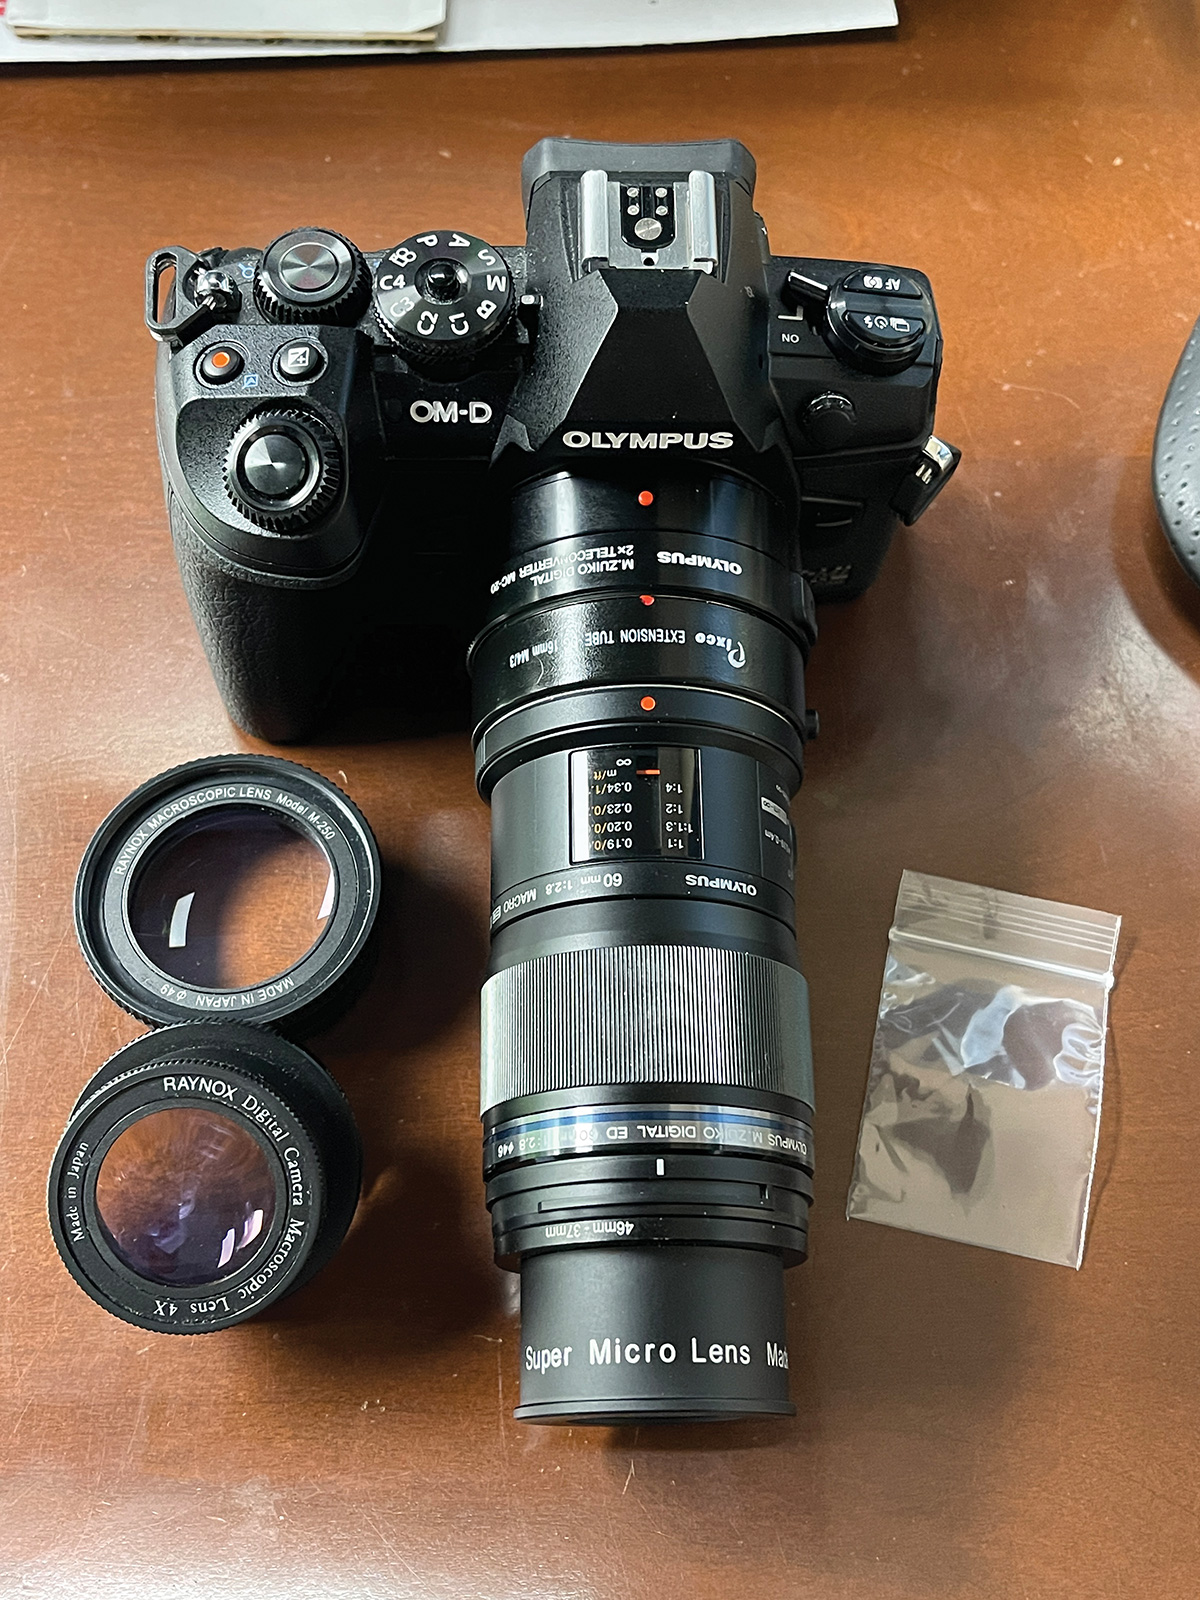
It wasn’t until he moved to Olympus (now OM System) and the OM-D E-M1 Mark II and Mark III cameras fitted with a 60mm f/2.8 M.Zuiko macro lens that he started getting nearer to the results he was looking for. He discovered he could get even closer by adding extension tubes and a 2X tele-extender with Raynox magnifying lenses. He achieved a field of view at 7.5X magnification, which he uses for snowflakes, and 9X magnification for sand grains.
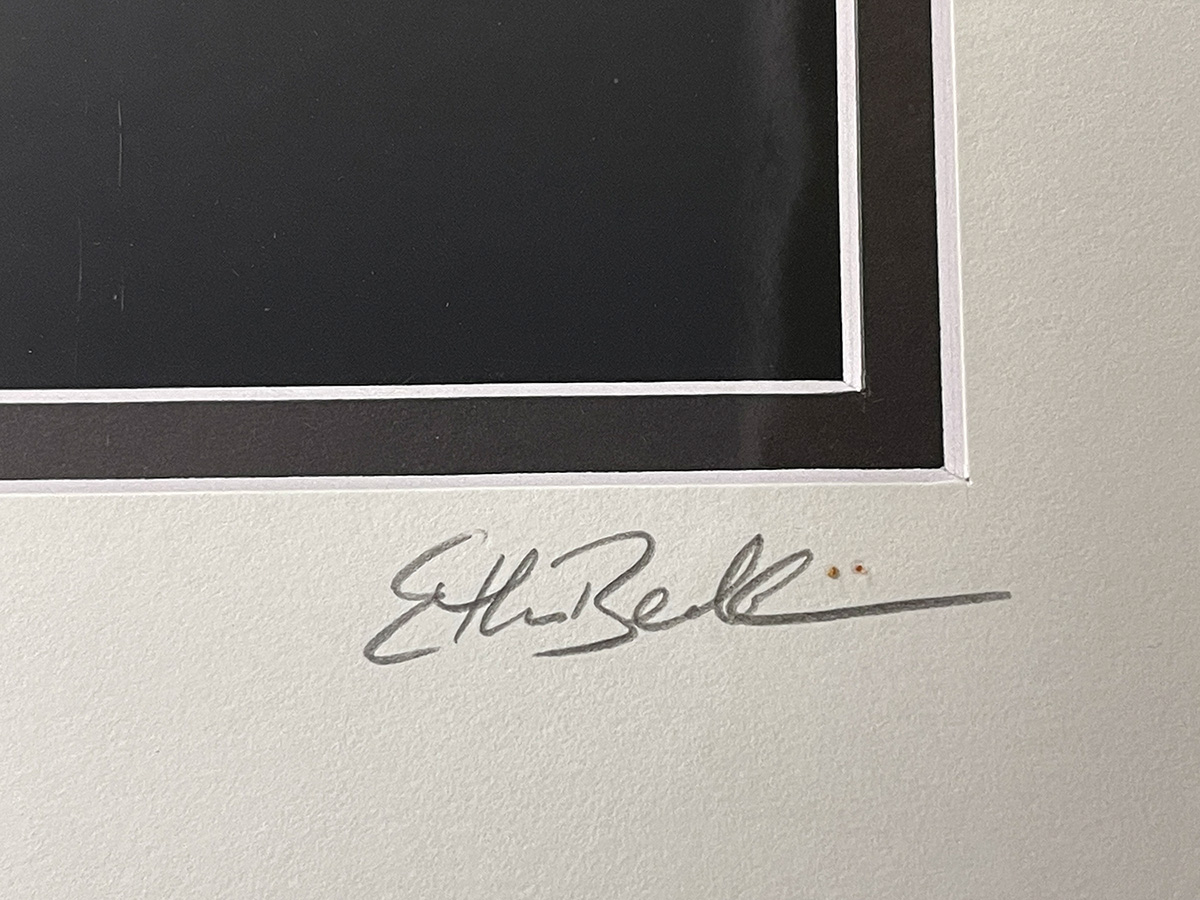
The individual sand grains from the photo are mounted next to Beckler’s signature on the photo mat.
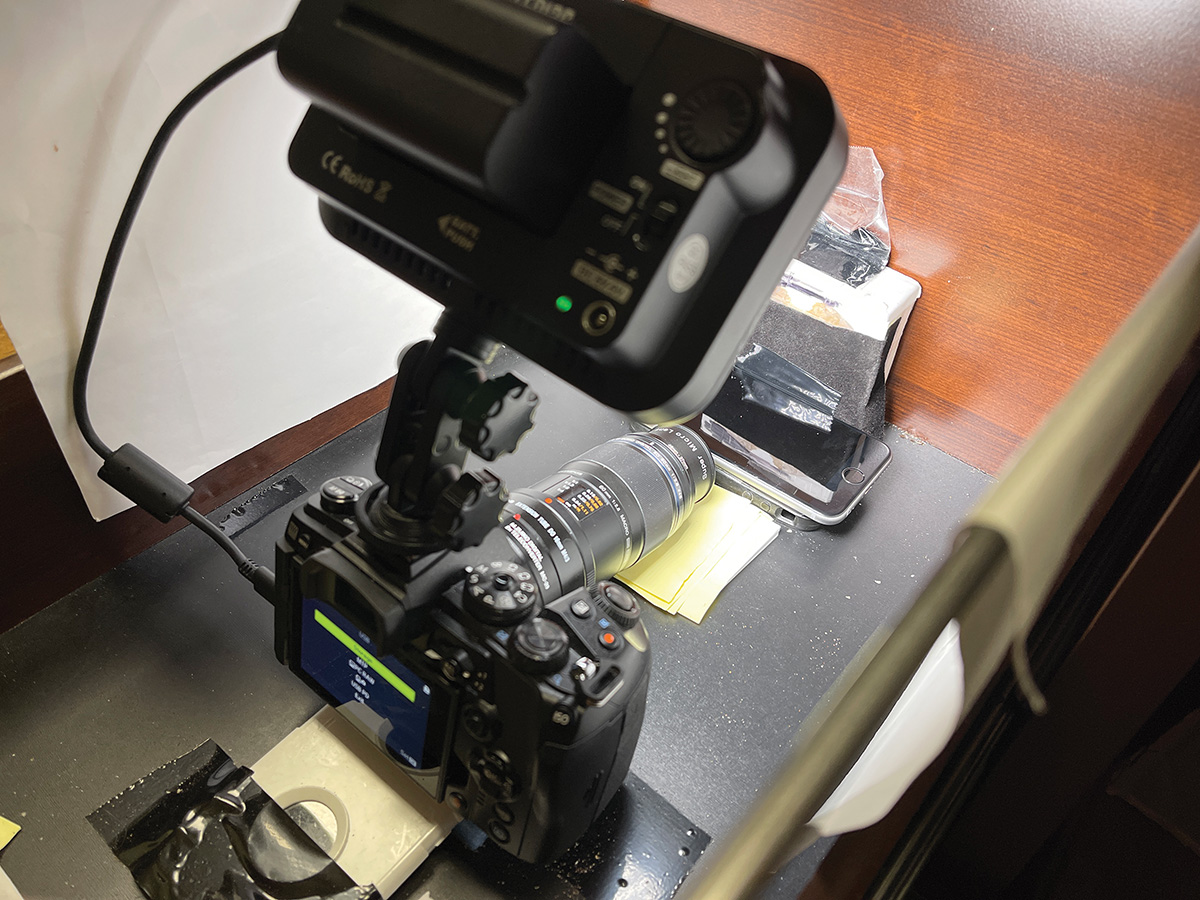
Beckler’s desktop macro studio is simply a desk drawer with white paper on the sides and an LED light on the camera’s hot shoe. Firing must be done by remote control; any miniscule movement created by touching the shutter button would ruin the capture
Beckler’s macro capture setup (above left) starts with an Olympus OM-D E-M1 Mark III and M.Zuiko Digital ED 60mm f/2.8 macro lens. An Olympus M.Zuiko Digital 2X teleconverter MC-20 is mounted to the camera body along with a modified Pixco 16mm M4/3 autofocus macro extension tube. A Raynox 202 lens placed on front gives approximately 7X magnification for snowflakes. The Raynox 505 increases magnification to about 9X for sand grain photography. This kit is the least expensive combination to get this amount of magnification. The camera allows for internal focus bracketing up to 999 images.
SETUP
Beckler uses a desk drawer for his sand grain studio, which can be set up anywhere. He uses an LED panel mounted in the camera’s hot shoe and floods the set with reflected light, using white paper to line the sides of the drawer. A glass phone screen serves as a small black platform, and black paper across the back of the drawer completes the shooting space. Outdoors, Beckler works with natural light, making ISO adjustments to increase shutter speeds.
Because of the high magnification and shallow depth of field required, a steady camera is mandatory. Touching the shutter button could ruin a sequence. The Olympus OI.Share app allows hands-free control of the camera. When stacking sand grains Beckler needs a larger live view image and uses Olympus Capture software on his computer.
Stacking grains of sand? Yes, you read that correctly. “You need a relatively moist environment, or static electricity will have you chasing the sand all over,” Beckler says. He uses the corner of a small plastic pill bag to lift and place individual sand grains. To say this requires practice and patience is an understatement: “My first attempts took me four or five hours to just do one. After three-plus years of practice, I’ve got it down.”

Bandon, Oregon, sand photographed at just under 2mm field of view with a grain pile in the background for bokeh
FOCUS STACKING
With minuscule depth of field, sharpness through the subject is created by focus bracketing, also known as focus stacking. A focus stack is attained by making an image, moving the focus forward a bit, and repeating until the entire subject has been captured.
Many camera models now have in-camera focus bracketing. With the Olympus OM-D E-M1 Mark III, Beckler first sets the number of frames he’ll take, which varies by subject depth. Focus stacking is turned off, the focus differential is set to 1, and the charge time is set to 0. Flash can be used rather than continuous light, but recharge time between shots needs to be accounted for. While it may seem counterintuitive to turn focus stacking off, with this camera model it means that the series of images will be taken starting from the initial focal point and going back (farther away). Then the focus stack is assembled by whatever means you choose rather than allowing the camera to do it automatically.
Once the shutter is activated, the camera records the scene, moves the focus, and repeats until all images are made. Beckler sets the focus differential to 2 when photographing bugs and snowflakes as he only needs half the exposures required for sand.
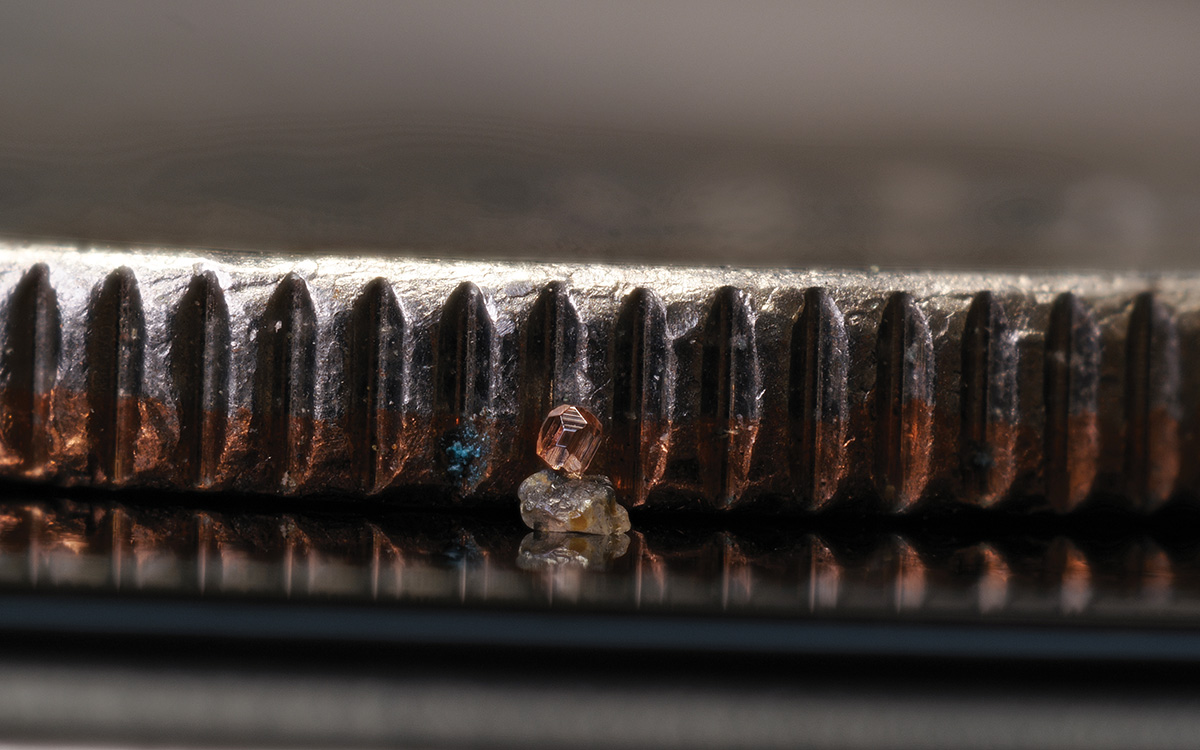
Stacked sand grains shown against the edge of a dime
PROCESSING
Beckler has settled on Helicon Focus software for assemblage. He imports the stack and chooses Method C, which uses a pyramid approach to image representation and gives good results for complex objects and deep stacks. Smoothing is set at 1.
Helicon works well, though retouching may be required after the stack, especially if there is a lot of solid color, since the software uses contrast to make the sharp selections. This is also the time you’ll find out if your sensor has any dead pixels. After the image has been processed in Helicon Focus, Beckler uses Adobe Lightroom for final color correction and spot removal.
Two sand grains photographed at just under 1mm field of view, a compilation of 140 images stacked in Helicon Focus software
SNOWFLAKES
Beckler says that the best conditions for capturing a single snowflake are when the temperature is well below freezing with flurries barely coming down. What we perceive as a large snowflake is actually hundreds clustered together. After trying many different capture surfaces, he eventually settled on an old pair of jeans. For other gear setup possibilities for snowflake photography, Beckler suggests looking up Don Komarechka and Alexey Kljatov as sources of information.
The secret to preserving a snowflake is to leave Loctite Super Glue Gel Control out over-night in freezing temperatures. Superglue does not freeze until it’s 100 degrees below zero. The glue becomes as cold as the air temperature but maintains the characteristics of Super Glue. Beckler looks for single-digit temps when working with snowflakes. The snowflake is photographed first, then placed on a glass cover slip (conventionally used on top of a microscope slide). He pours the chilled Super Glue over the flake and lets it harden in the same freezing temperature, usually overnight. This will not work in temperatures that are below but still near the freezing point.
Beckler shares his images on Facebook and Instagram. He sells individual images with the subject attached next to his signature using super glue, which is why he named his business 1of1 Images. He’s open to the possibility of someday selling additional prints of his work with the original being sold at a higher price. Currently, he has one limited edition of 25 prints—an image of an 18mm agate. When the series sells out, he will have a drawing for the recipient of the agate.
Bob Coates is a photographer and photography educator based in Sedona, Arizona.
