When you think of lighting, you might begin by considering adding one light to a scene and progress to two or three lights. But many of us fail to think about one key aspect of lighting because it might not seem like lighting at all. When it’s there it can go unnoticed, and when it’s missing the effect of its absence might not be identifiable. This missing element is what’s holding many photographers back without them even knowing it.
Let’s explore all the ways you can remedy this mystery problem and review what choices you can consider to improve your images.
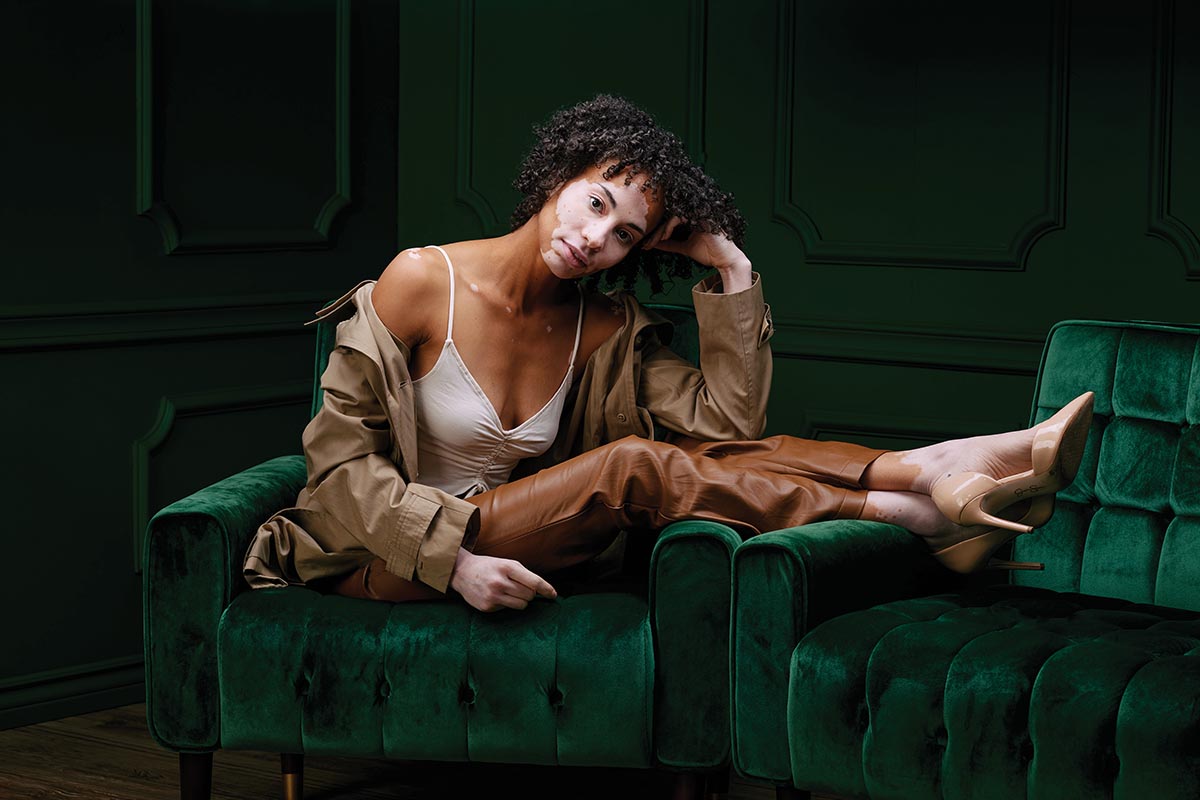
If you were a make-up artist, it wouldn’t matter how good you were at applying eye shadow if the foundation was too light or the wrong color. The shadows are our foundation
John Gress
A photographer asked me to critique his work. I looked over his photos and saw that his subject’s faces were well illuminated, and the subjects were separated from the background through a combination of edge lights, hair lights, and background lights. But there were no shadow details. Where did they go? Though this can be a style choice, it’s often not done on purpose. You might want to maximize drama with hard light for a beauty shot or an optical snoot to project a sharp pattern, but usually you can elevate an image by giving the viewer a range of tones similar to what we see with our own eyes.
Think about it this way: If you were a make-up artist, it wouldn’t matter how good you were at applying eye shadow if the foundation was too light or the wrong color. The shadows are our foundation. During my critique, I suggested that he could use bounce cards, reflectors, or even an extra light to illuminate his shadows ever so slightly to maximize details.
This is something I used to struggle with from time to time, mostly when photographing in a new studio, on location, or when everything on set was dark. Over the years I have learned how to diagnose what’s wrong and administer the right solution. Every shoot poses its own set of challenges, but if you understand the following concepts, you’ll be able to maximize details in your depictions, no matter where you are or what tools you have at your disposal.
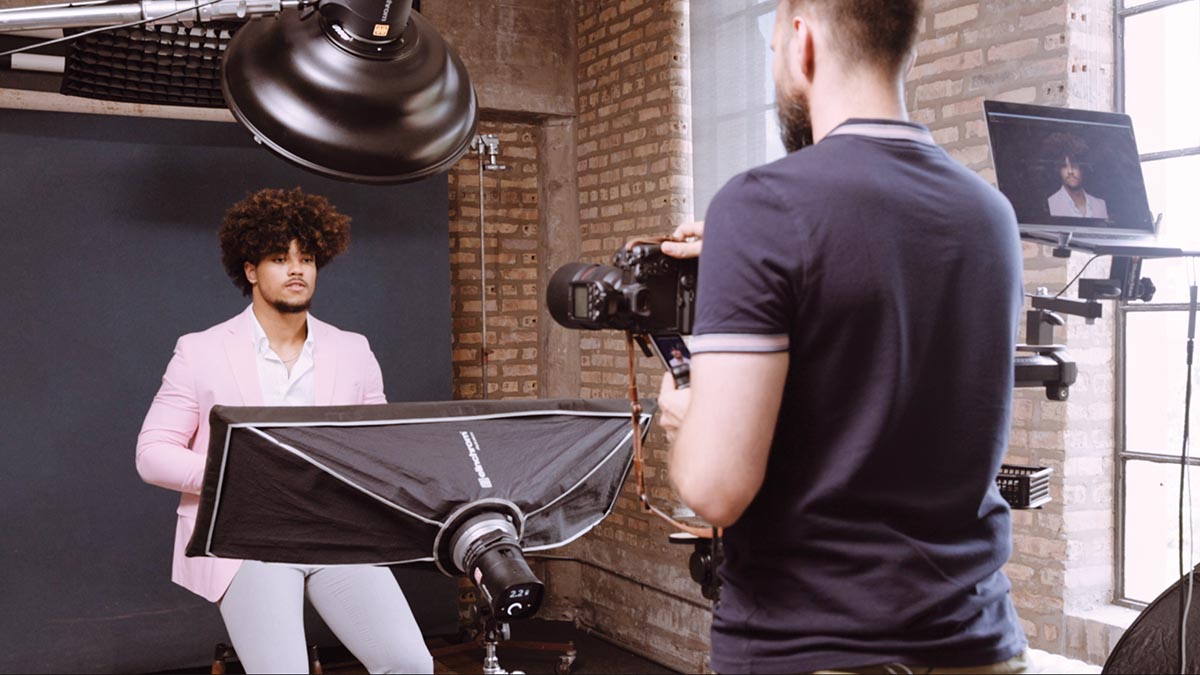
Lighting setup
Fill
Main
Final
PASSIVE FILL
Passive fill is probably the easiest way to take charge of your shadows. Reflectors, white poster boards, V-flats, walls, and huge 8x8-foot silks are your friends. You can use anything as your fill source to bounce light as long as it’s white or light enough to reflect and doesn’t have a color tint. Place your fill source opposite the main light source, and you’re in business. This will hold detail in the shadows and blend the transitions from light to dark. It might possibly make the main light appear less harsh as well.
A mirror or a shiny metal bounce source will need to be placed at a precise angle in relation to the subject to have the most impact on the shadows. With something white, like a V-flat or a foam board, its angle won’t matter as much. It’s more important to use something for fill than it is to get the angle precisely positioned.
The diagram below shows a basic setup for passive fill. The closer the fill source is to the subject, the brighter the fill will be, which is a function of the inverse square law.
A larger passive fill source will also have a bigger impact on the shadows than a smaller fill source placed in the same location. If the larger source is farther away than the smaller source, then it will have a larger impact on the shadows only if it looks bigger from the subject’s perspective. This concept might seem familiar because it’s based on the same principles that cause a light source that’s larger relative to the subject to be a softer light source.
Silver and gold reflectors will add a different character to lighting. The former will give more punch than a white bounce source, and the latter will warm up the image.
In general, I like to start with a 1:4 ratio between my main light, or key, and my shadows as measured with a light meter. This means that if the key meters at f/8 on the subject’s face, I want the shadows to meter at f/4. To accomplish this with passive fill, I move the bounce closer (making it larger relative to the subject) if I need it to be brighter, or farther away (making it smaller) if I need it to be darker. If you don’t have a meter, you can take a series of test frames until it looks right. However, I urge you to use a light meter when you’re starting out to help give you get a baseline understanding of where to place the fill and how bright you want the shadows to look. Knowing the brightness measurements of the key and fill lights is a huge help if you ever have to re-create the same lighting in a different environment. Keep in mind that there are no wrong answers, though. Darker or brighter than 1:4 is still OK as long as it’s the look you’re going for.
When photographing outdoors, you can use ambient light as the fill and a single flash as the main. Just set the camera’s exposure so that without a flash the image would be slightly underexposed, then add flash to get a proper exposure. The more you underexpose the scene, the darker the background and the fill will become.
My general strategy outdoors is to use the sun as the hair or edge light and then light the subject’s face with a light in a soft box that’s about one stop brighter than the light striking the subject from behind. You can determine the exposure by taking test photos that are front lit and then adjust the exposure until the images are slightly underexposed. Or frame the shot and take a series of images until you get the desired background brightness, then adjust the flash power until the subject looks right. The ambient light will be the perfect fill, and the sun will separate the subject from the background. Think of light meter measurements as a starting point then adjust on the fly based on your taste, location, and subject.

ACTIVE FILL
I’ve heard a lot of photographers say that they use a large light source behind them to “own the shadows.”
Using flash as a light source gives you total control over the brightness of your shadows, which is why I like to call it active fill. You control the power of the fill just as you control the power of all the other lights in your setup.
My active fill light is typically about one-quarter as bright as the key light (two stops down or a 1:4 ratio), but once again, you have to look at the back of the camera or monitor to decide if you want more or less power. If you took a photo with just the fill light, it would probably look quite dim. But what matters in the final image is the combination of the fill and main lights together.
Active fill doesn’t always have to be behind you. On location or in studio, you can bounce light off of a white ceiling or wall to fill the scene. It could even be gray, but if you don’t want a strange color cast, avoid colored walls and ceilings. I might also place a large soft box on the shadow side of my subject if I know having one behind me isn’t practical because of people blocking it or due to inadequate space. Using a large source like this up close is also passive fill because it will reflect light from other modifiers off the white surface of the soft box and into the shadows, too.
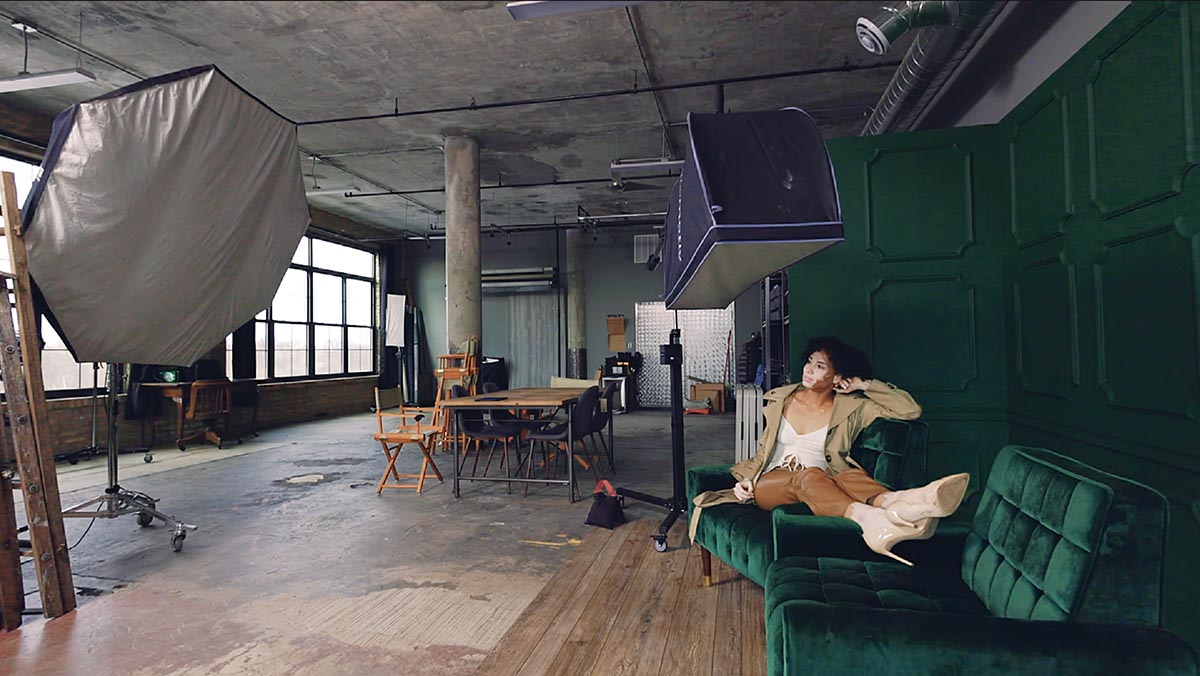
You can extend a boom to cast active fill over the subjects, which creates shadows and highlights in the shadows, adding to the overall complexity of the image. You can spot this type of fill if you look at the top sides of the objects in the frame that aren’t being illuminated by the main light’s beam.
If the fill source is large or close relative to the subject, you can get large catch lights as well. If it’s farther away or relatively small, it can create pinpoint reflections in the eyes that you may want to remove in post.
 View Gallery
ON-AXIS FILL
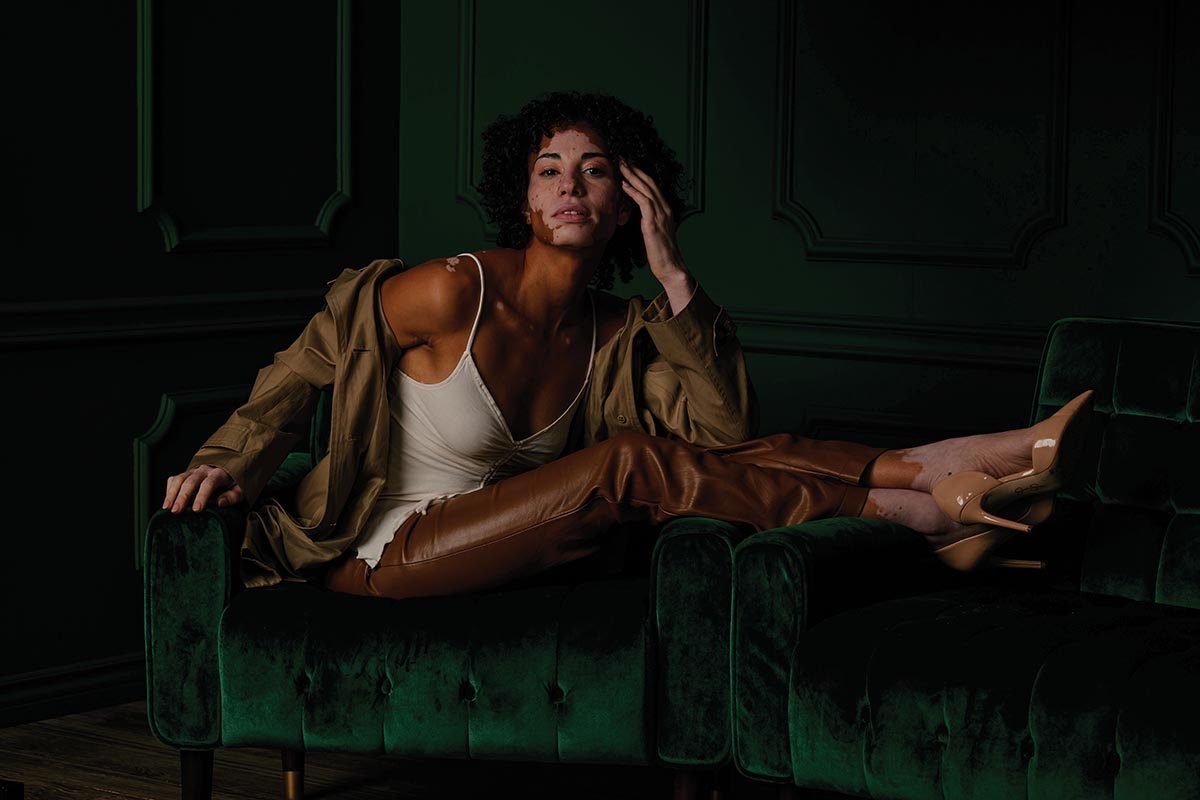
I sometimes like to place an active fill source behind the main light that, in effect, creates a gradient of exposure while maintaining the same shadow directionality. It softens the transition areas, creating an almost painting-like atmosphere. But this is only possible if the fill source appears larger than the main light from the subject’s perspective; otherwise, the main light will block the fill light.
If you’re photographing a subject with exposed legs, such as a woman with a slit in her dress, I suggest using a large strip light from the side so that you can create a Rembrandt lighting pattern and still get a highlight running up the entire leg.
CHOICES
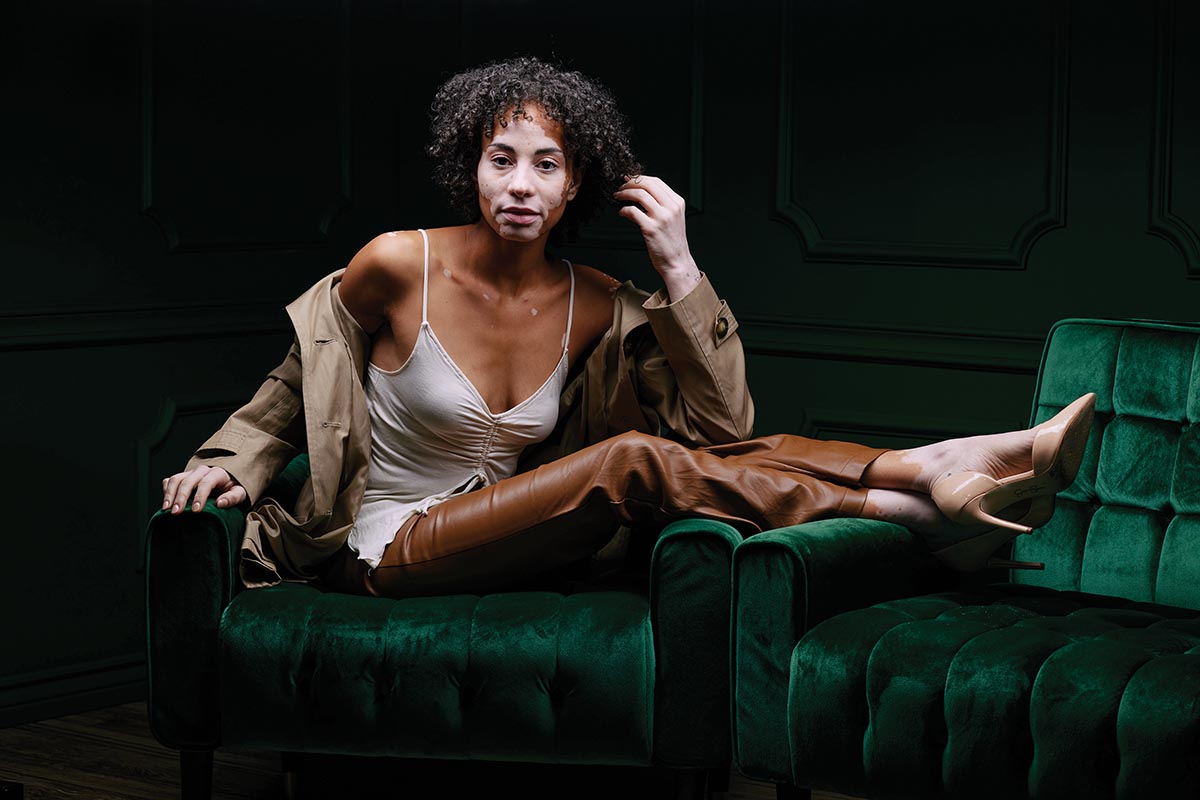
To illustrate how different fill sources affect an image, let’s look at one specific lighting setup and use it as an example. You should be able to take the illustrated principles and apply them to other situations.
If you’re adding fill to a clamshell lighting setup, the type of fill source you choose will have an effect on the character of the overall lighting.
Using a white foam board will add a little detail and slightly soften the shadows. Using a silver reflector will have more impact and create a more pronounced catch light. A 7-inch reflector will fill the shadows in the middle of the face, but it won’t change the overall contrast in the image or fill in the shadows farther back on the face. A 1x3-foot strip soft box will allow you to fill in the shadows so they’re the exact brightness you want, but since it’s much wider than the 7-inch reflector, its light will wrap around onto the sides of the face.
 View Gallery
Regardless of which strategy or brightness you choose to employ, the only thing that matters is that you take an active role to produce the image that you’re trying to create and not just going with whatever happens.
John Gress is a commercial photographer in Chicago and teaches lighting workshops across the country and on YouTube.
Tags: lighting