The Beauty of One Big Light
How to work with a single large light source
To create flattering, forgiving, painterly lighting, there are few techniques that beat the economy and simplicity of using one big umbrella. Large umbrella modifiers are collapsible, easy to transport, and often the choice of celebrity photographers like Art Strieber, Annie Leibowitz, and Platon. Any large diffuse light source—be it a strip box, a large window, or strobes firing into a wall-size silk—can be used to similar effect.
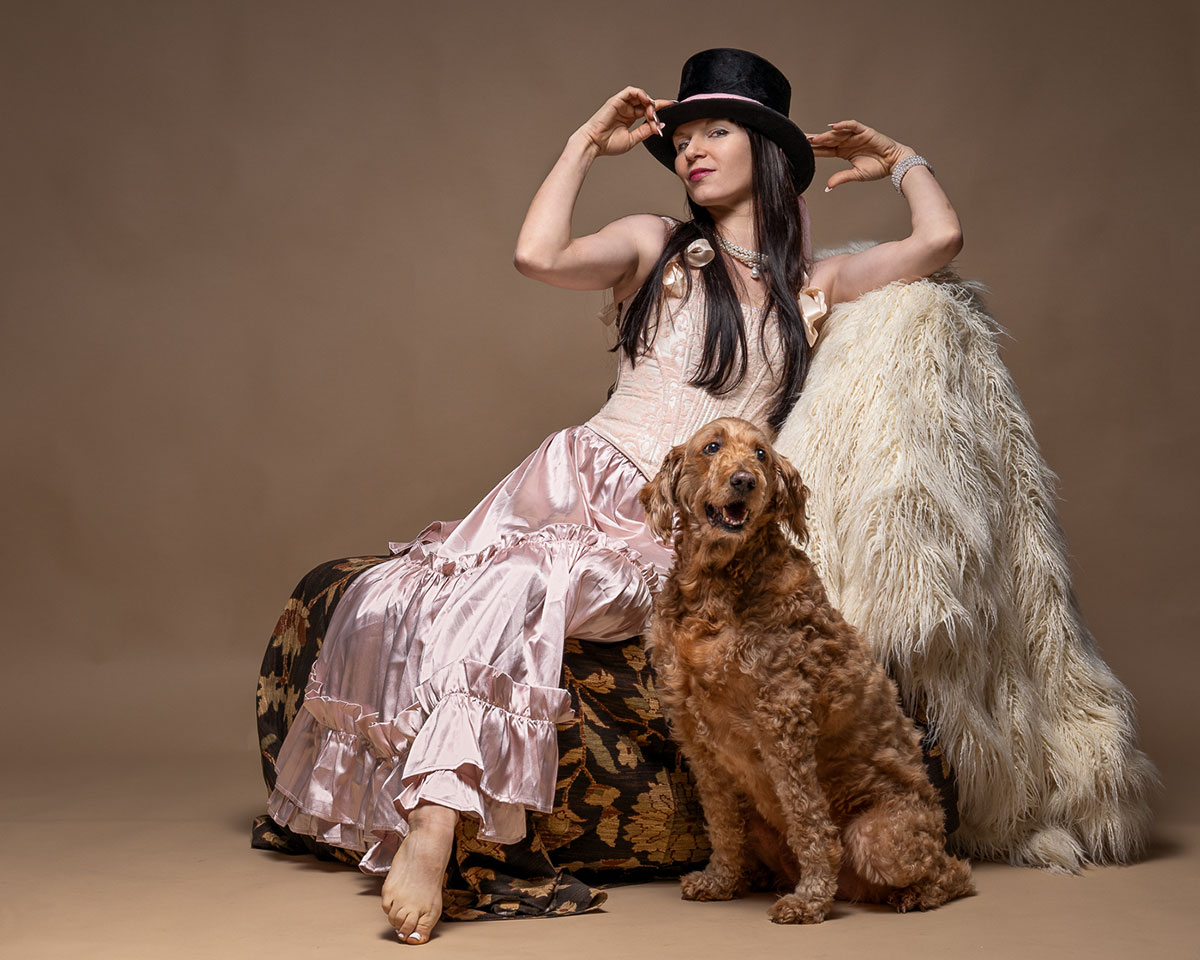
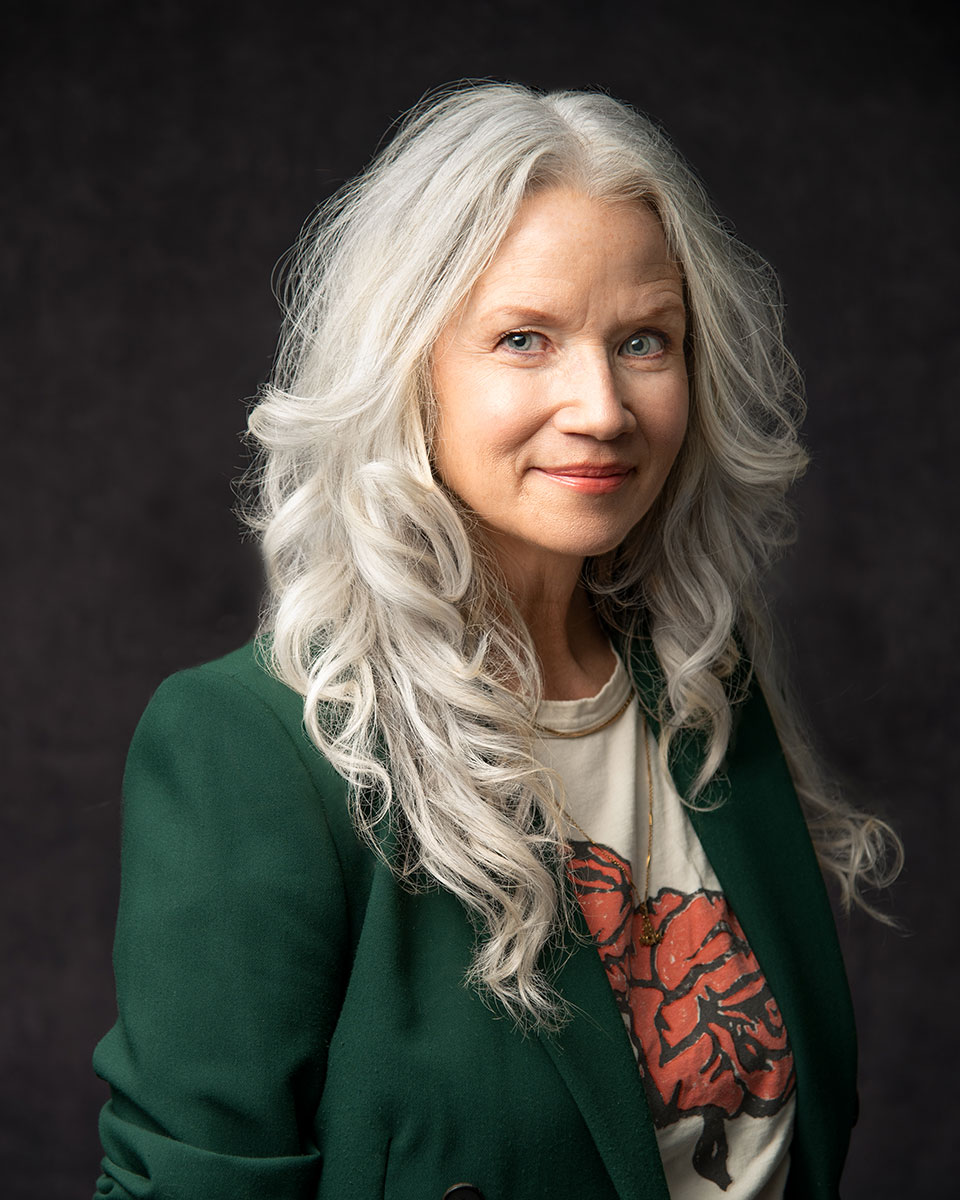
In this example, I used a Glow Easy Lock 65-inch-deep silver reflective umbrella and added a diffuser to further soften the light (above). The light source was a Flashpoint eVolv 200 strobe boomed out over the subjects.
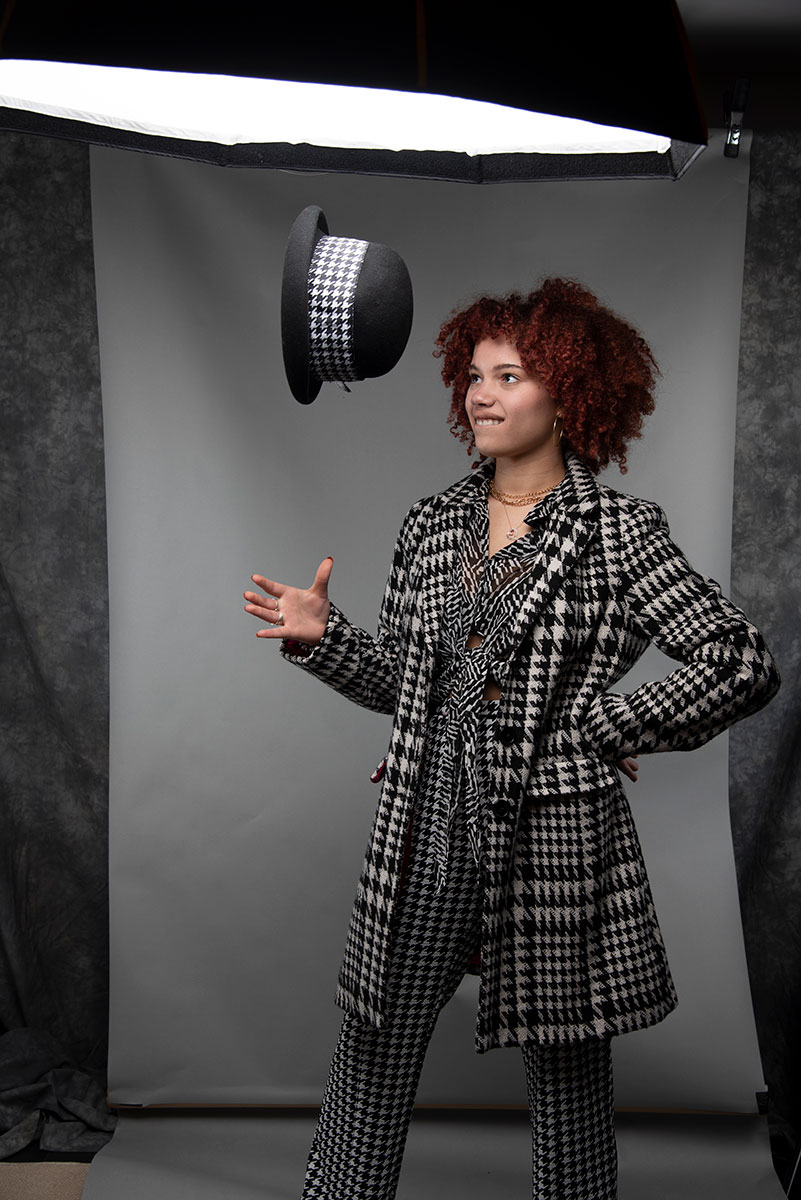
Light follows rules, and the main one to know is that the bigger the light source relative to the subject, the softer it will be. The key word here is “relative.” If the subject is small, such as a person’s head and a portion of the shoulders, a 3-foot modifier is relatively large, almost three times the size of the subject. For a full-body composition, a 3-footer is around half the relative size of the subject, so not as soft.
The distance from the light to the subject affects not only softness but how defined the shadows will be. The closer the light, the faster the drop-off, meaning how sharply it goes from light to dark. Rapid drop-off from a close light leaves a sharp transition between light and dark. If the drop-off is too pronounced, inch the light away from the subject until you get the gradual light-to-dark transition you want.
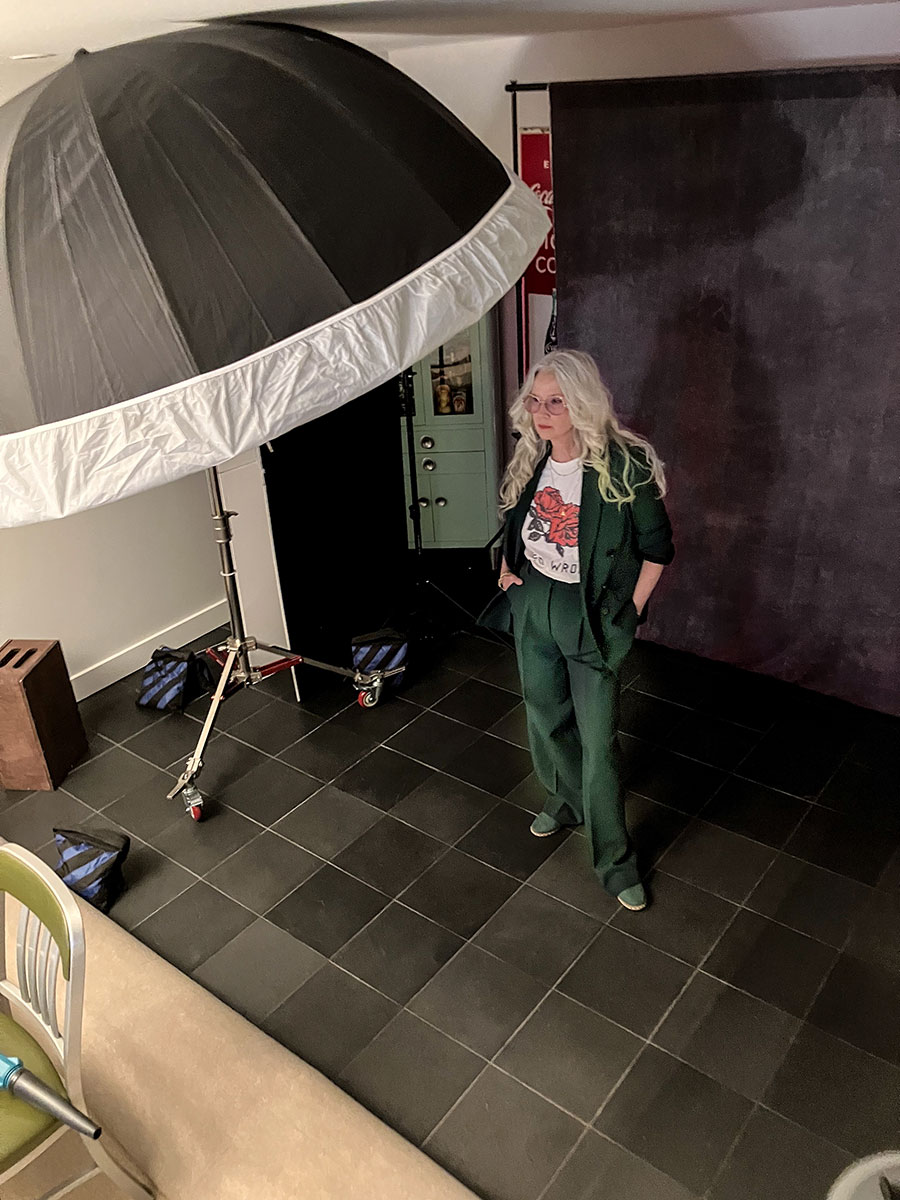
The right distance between the subject and the light depends on the look you want, but a good starting point is to let the size of the modifier be the guide. Position a 6-foot modifier 6 feet from the subject, or a 3-footer at 3 feet from the subject. Move it closer to get softer light with a more defined transition to shadow, or away to make the light harder with a gentler transition to shadow. For the photo of Alex and her dog Molly (top), I started with the light at about 6 feet overhead, then moved it up to about 8 feet to achieve the look I wanted.
You should also consider light spread. Think of an illustration of a streetlight at night. The light is drawn as a cone emerging from the lamp, spreading wider as it nears the ground, and fading at the outer edges. That’s a pretty accurate depiction of light spread.
The quality of the light differs from the center of the cone to the edges. To get the softest light, feather it by angling the modifier so that just the soft edge of the light hits the model. It’s surprising how far away from the subject you can angle the light and still illuminate the subject well. The general rule is that if the subject can still see any of the modifier’s white diffuser, it will light them.
To take advantage of feathering, I aligned the back edge of the umbrella on the boom about 3 feet ahead of my models and angled parallel to the floor. When I saw Alex’s eyes were a tad underlit, I tilted the umbrella toward her very slightly, maybe 10 degrees.
You can shape the light even more with flags to prevent light from spilling where you don’t want it or grids to reduce the spread of light overall. These same principles apply to any light source—windows, soft boxes, shoot-through umbrellas, lanterns, you name it. Regardless of the source, big is beautiful.
Roy Furchgott is a fine art portrait photographer in Baltimore, Maryland.
Tags: lighting