
Midday Magic
Add to what you can offer by exploring infrared
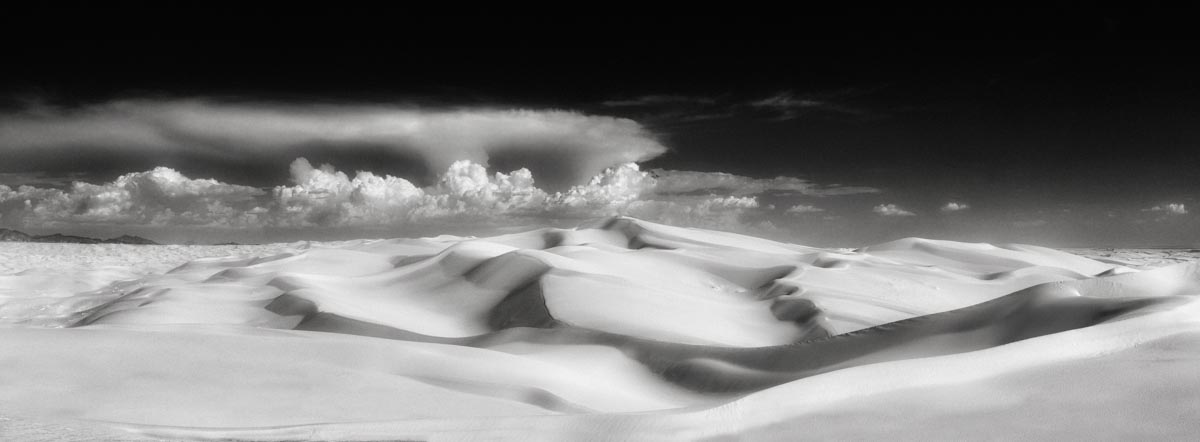
The golden hour is that lovely time in the morning and evening when soft directional light is perfect for photography. But what about when the sun is high in the sky? Experienced photographers can work with high contrast, but usually we put our cameras away during that time. Enter infrared. Infrared shines when the light is bright. It captures glowing white foliage and deep dark skies that make puffy white clouds look magical. Infrared capture opens a world of creativity where contrast sings.
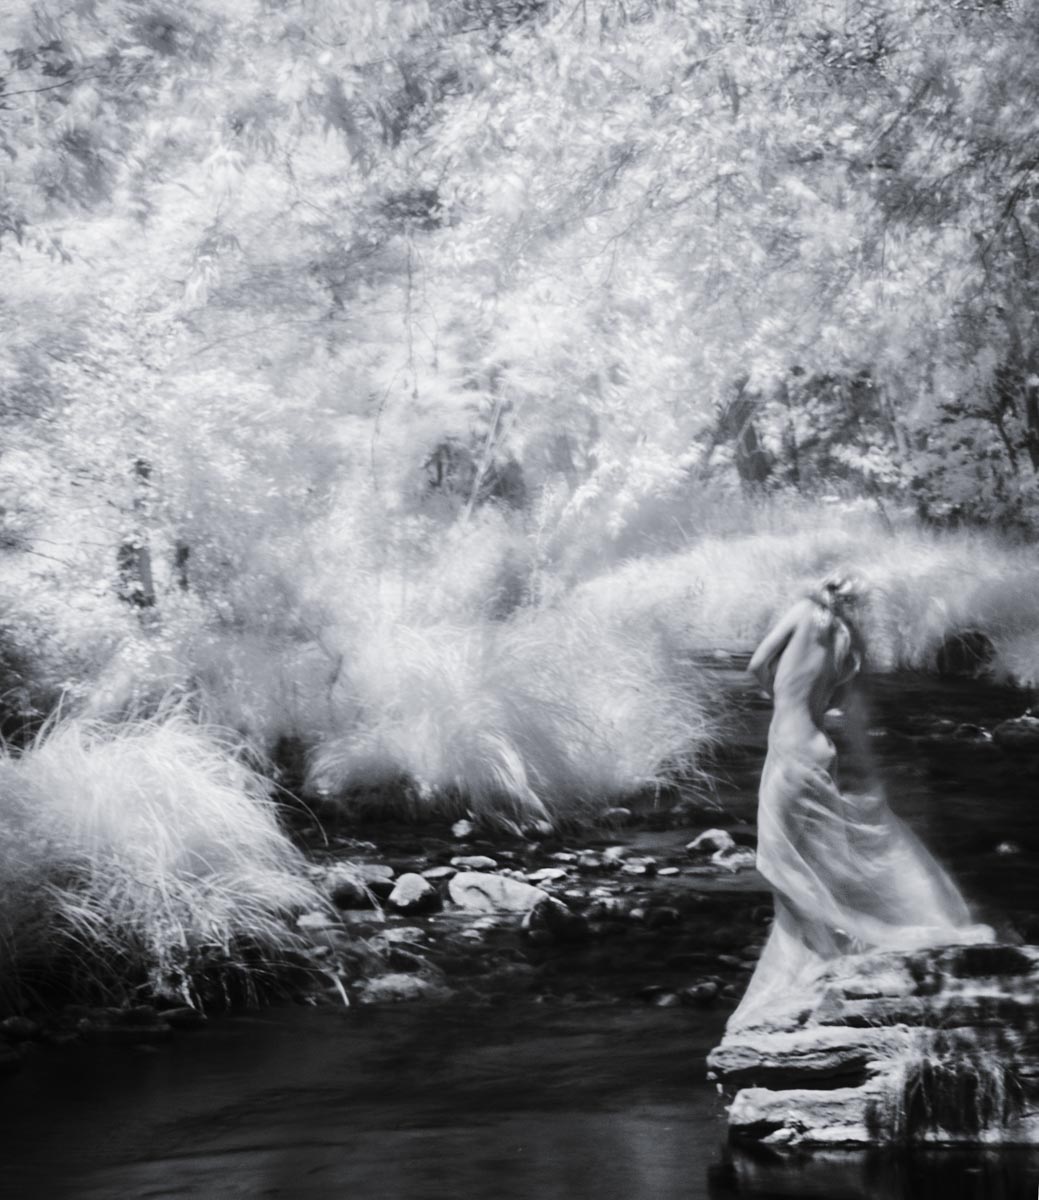
Deciduous leaves render white with a luminous model against high-contrast flowing water.
Camera Conversion
You have a couple options for photographing in infrared (IR). You can use an IR filter over the lens, but that adds difficulty with focus due to the filter density, plane of focus, and longer exposure times. Or you can have a digital camera converted to infrared capture, and the capture process is easier. Focus is a breeze and you can make sharp exposures handheld with no problem.
If you have an older digital camera languishing on the shelf, you can give it new life by converting it to IR. Many options are available with distinct filters offering different wavelengths of light. Images in this article were made with a Panasonic Lumix DMC-GH4 with the traditional 720nm (nanometer) IR filter that converts the image to black and white. Color filters offer different creative results. Life Pixel and Kolari Vision are two companies that convert cameras to infrared, and you can learn about which filters give what results along with other great information on getting started in IR on their websites, lifepixel.com and kolarivision.com. Camera conversions can run from $199 to $350 depending on the camera model and filter choice. These companies also sell cameras that have already been converted.
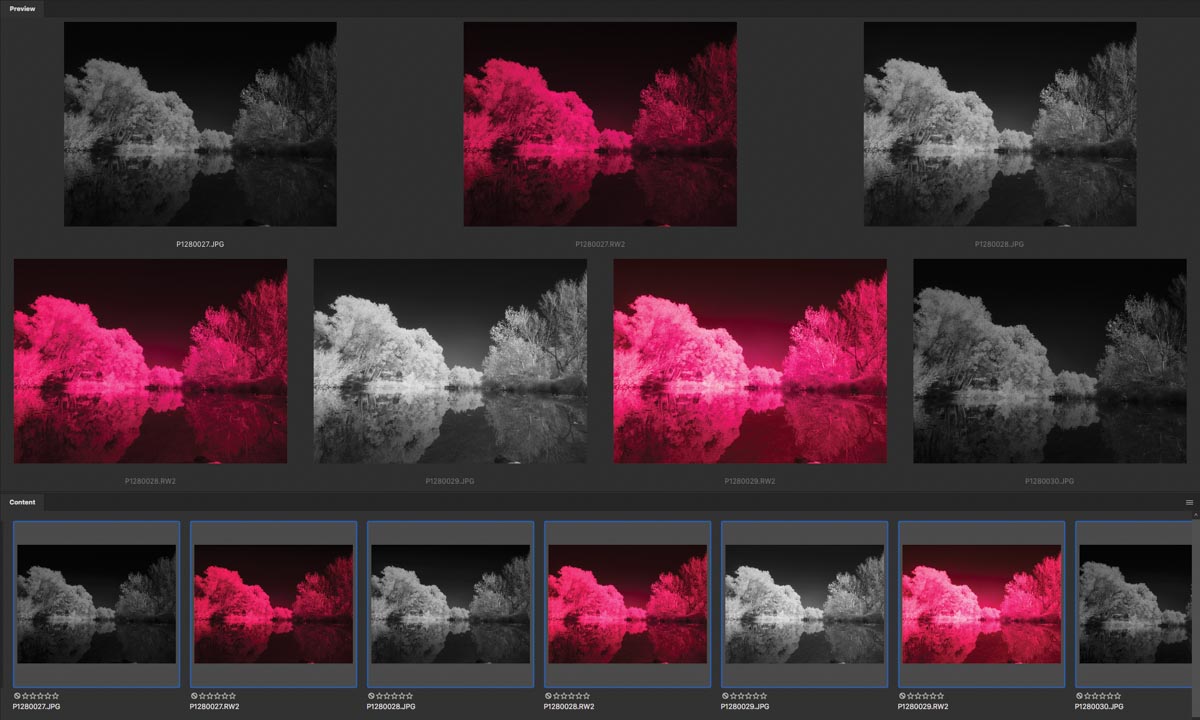
Before processing, the raw images are magenta while the jpegs are black and white due to the monochrome setting chosen on the camera.
Camera Settings
Getting the most out of your IR captures means adjusting a few settings on your camera. Choose a monochrome picture mode setting in your camera menu. This will allow you to see the image in black and white on the back of your camera, which will be closer to the final look. Set the capture format to raw. You lose the ability to get the infrared look with JPEGs. Raw capture gives you all the information presented to the camera for further processing. The IR file from your camera will be magenta. If you want a black-and-white version, you will need to shoot in raw+JPEG. I recommend that to begin your IR capture journey.
Finally, bracket your exposures: three exposures; one stop over, one on, and one under. You can choose the one that works best or blend two or three images together to tame all the tones in the scene.
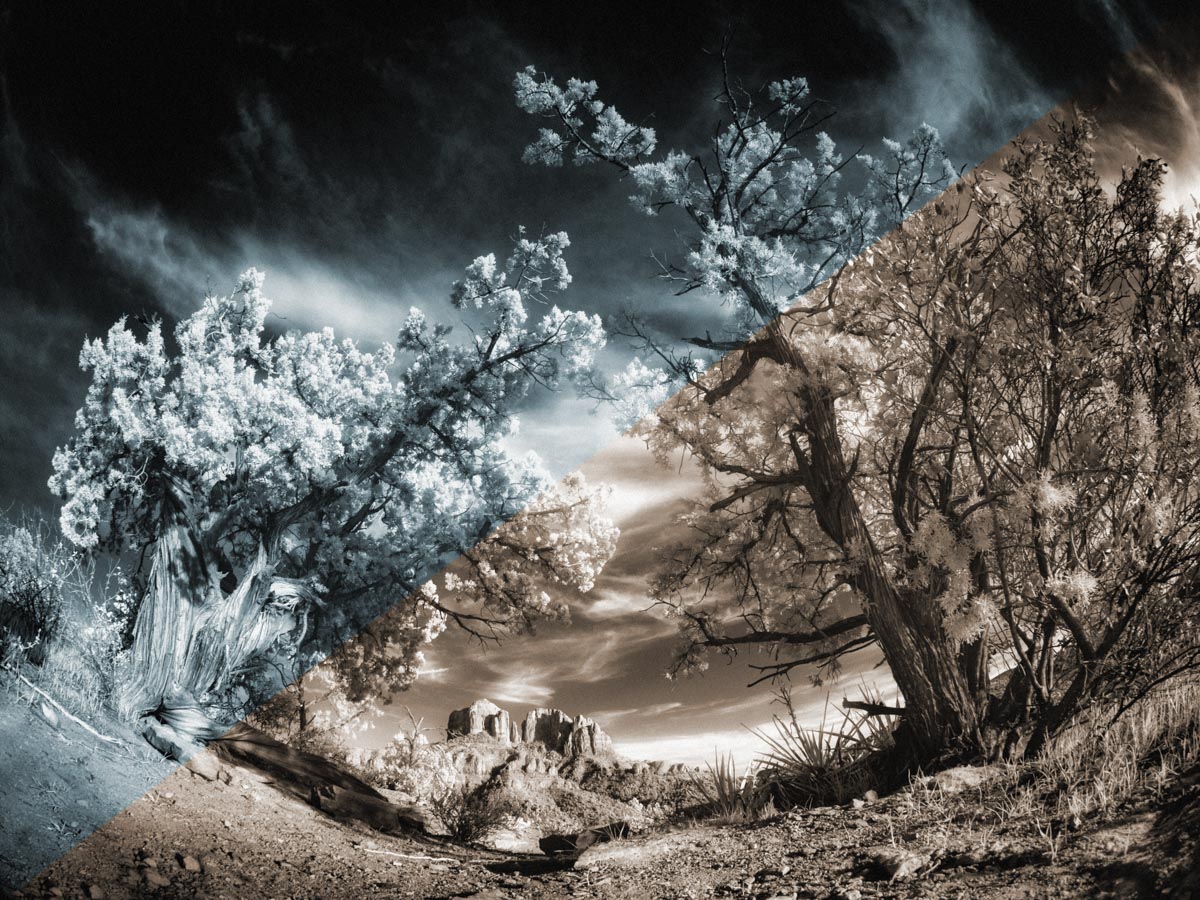
Cyan and sepia tones as possibilities for artistic toning.
Processing
Adobe Photoshop is my go-to for processing IR files. It’s possible to automatically convert the magenta files to black-and-white upon import in Adobe Lightroom using a profile setting, which can be handy. You can also use a plug-in like Nik Silver Efex Pro black-and-white converter. Once you’ve decided how you want to convert to black and white, you can start experimenting to find your own style. If you like the halation effect of infrared photography—the glow that appears around white foliage in infrared film photography—you’ll have to simulate it in digital. Sometimes I tweak exposure, add some glow, add a bit of noise, dodge and burn, and the image is ready to go. To add the glow, I copy the layer and convert it to a Smart object for a non-destructive workflow. From the Filter Menu I choose Filter Gallery > Distort > Diffuse Glow. I change the blend mode of the layer to screen and lower the opacity to taste. Nik also has a filter in Color Efex called Glamour Glow that you can use. There are more involved processing options such as swapping the Red and Blue Channels, but that’s more advanced.
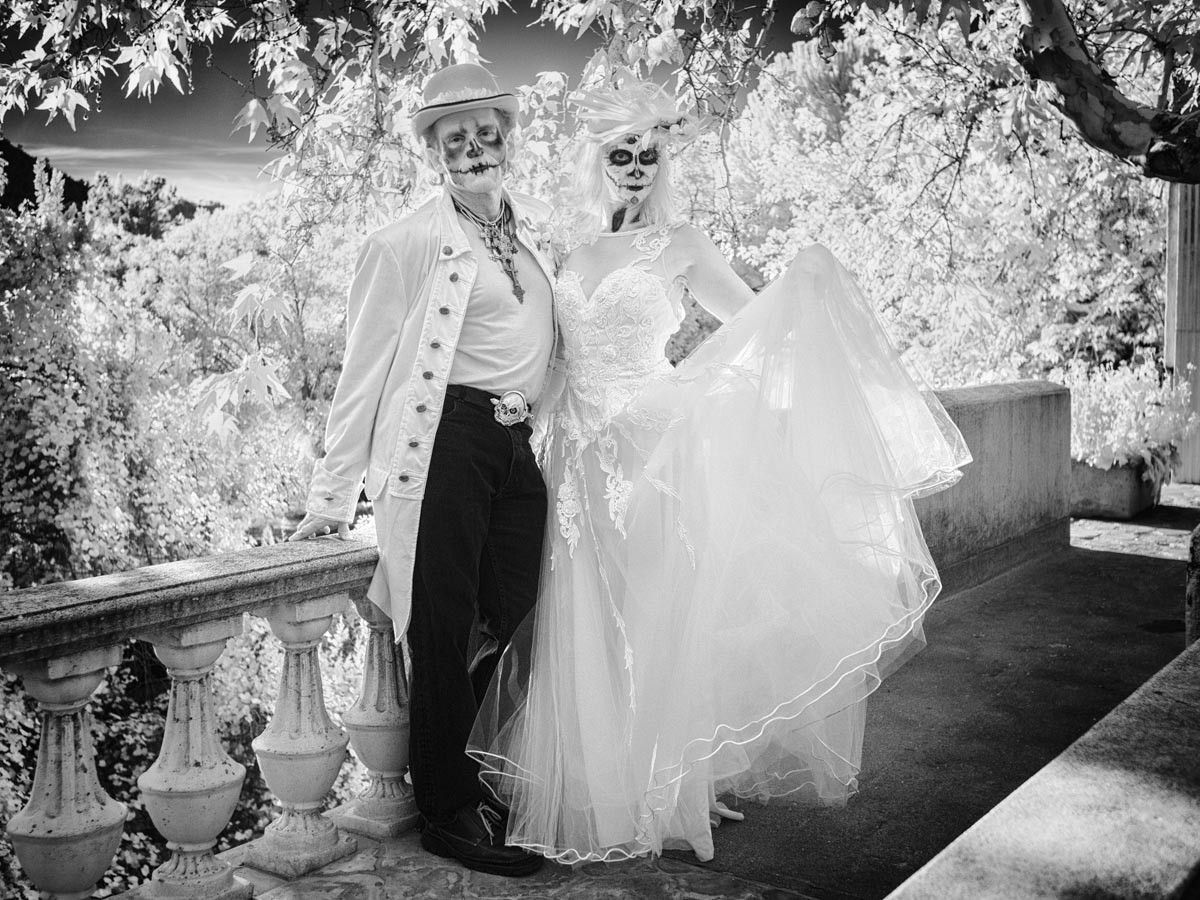
I felt that an IR capture would enhance the look of this “Day of the Dead” couple. This is one instance in which the way infrared shows human eyes as hollow will work for the subjects.
Show and Sell IR Images
There are several ways to turn your IR images into dollars. Dip a toe into the fine art market to sell images online or in a gallery. Try adding color tinges to create unique looks. It’s your art, so play and create. Figure photography gets interesting with infrared. The human body reflects a high amount of near-IR light in the 800nm-1,000nm range, resulting in a smooth ethereal look and even exposing veins beneath the skin. Eyes can appear hollow and dark, so I suggest subjects look away from the camera.
Wedding photographers can add a different look to pre-wedding bridal portraits and landscapes at scenic venues. If you’re planning to photograph a wedding during a time when the sun is high, scout the venue for locations that might be particularly dramatic in IR.
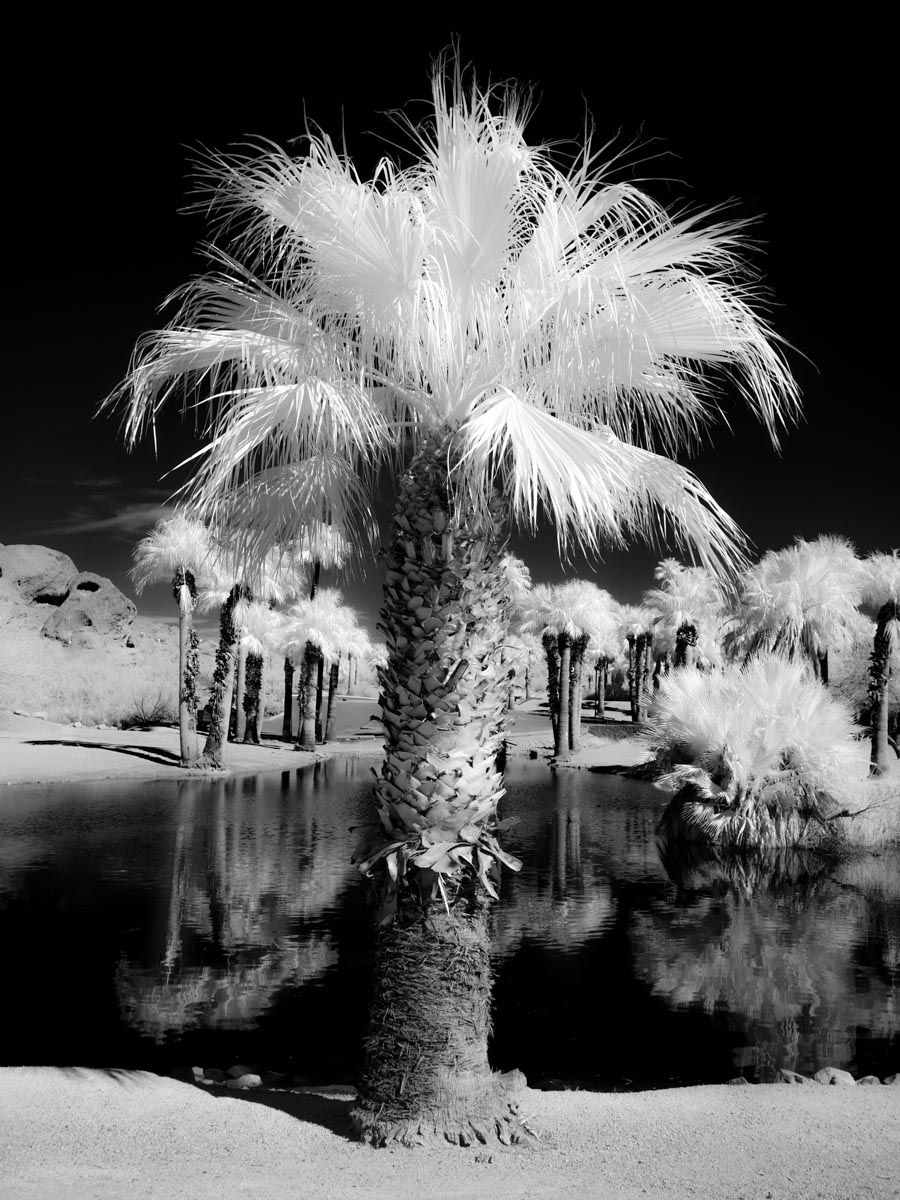
Palm leaves render a false color white as they reflect the IR light and blue skies go black.
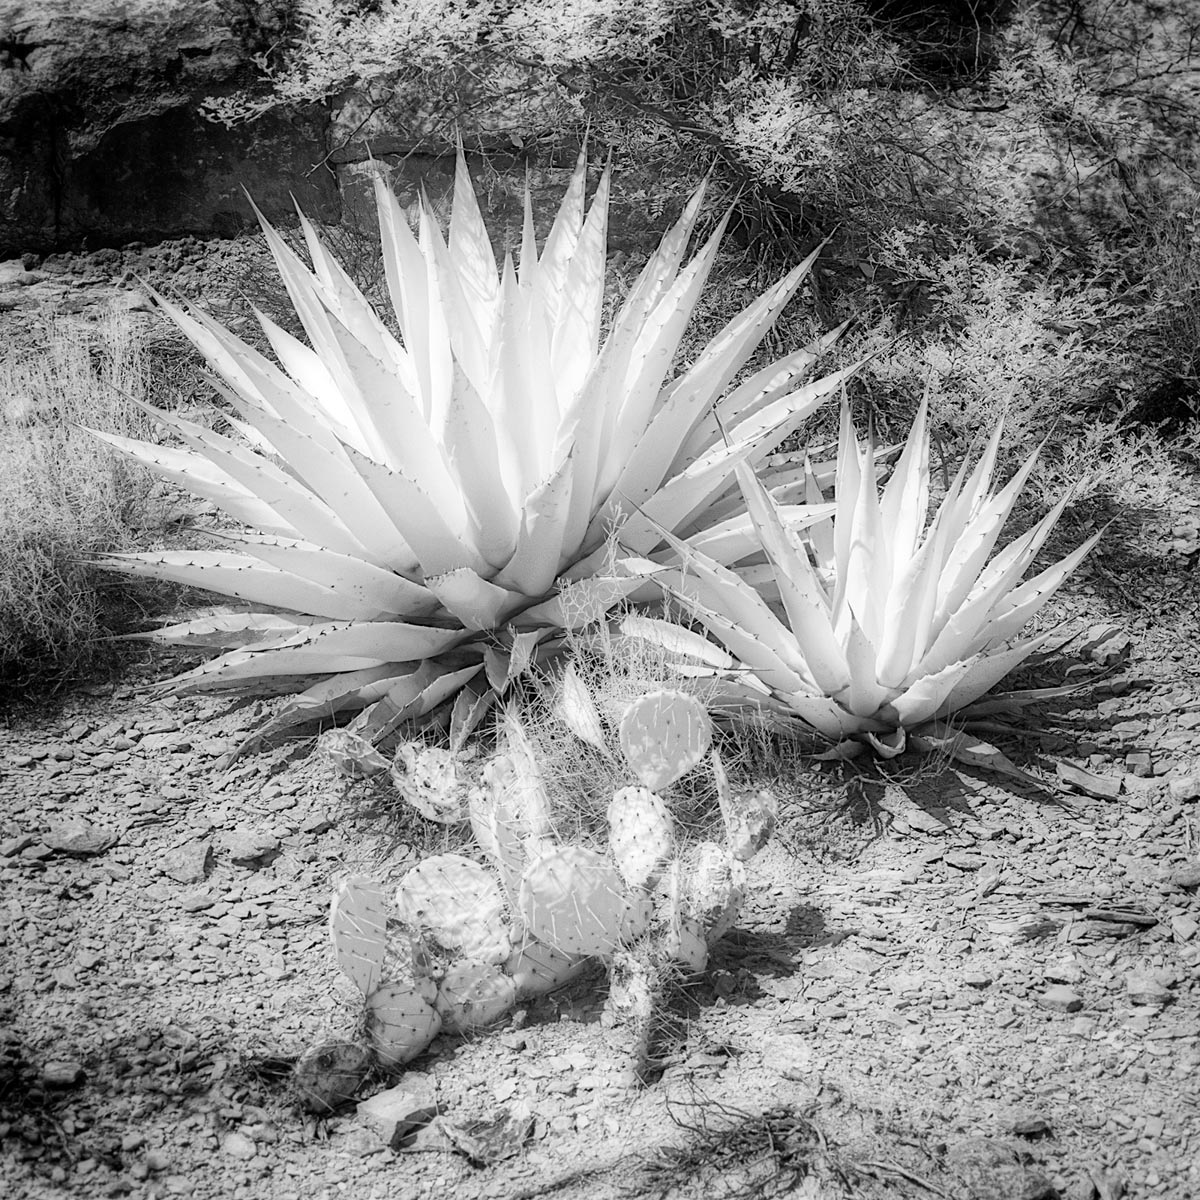
Portrait photographers can offer an additional unique look to clients. Seek out forested landscapes or other verdant settings. A sky with white puffy clouds is especially attractive. Get creative with posing to hide the eyes. Think of couples walking away from the camera, holding hands, a child frozen in play, or an elegant profile with a hand poised to sweep back hair.
Give infrared imaging a try and see where it takes you.
Bob Coates is a Sedona, Arizona-based photographer who hosts Milky Way and night sky workshops.