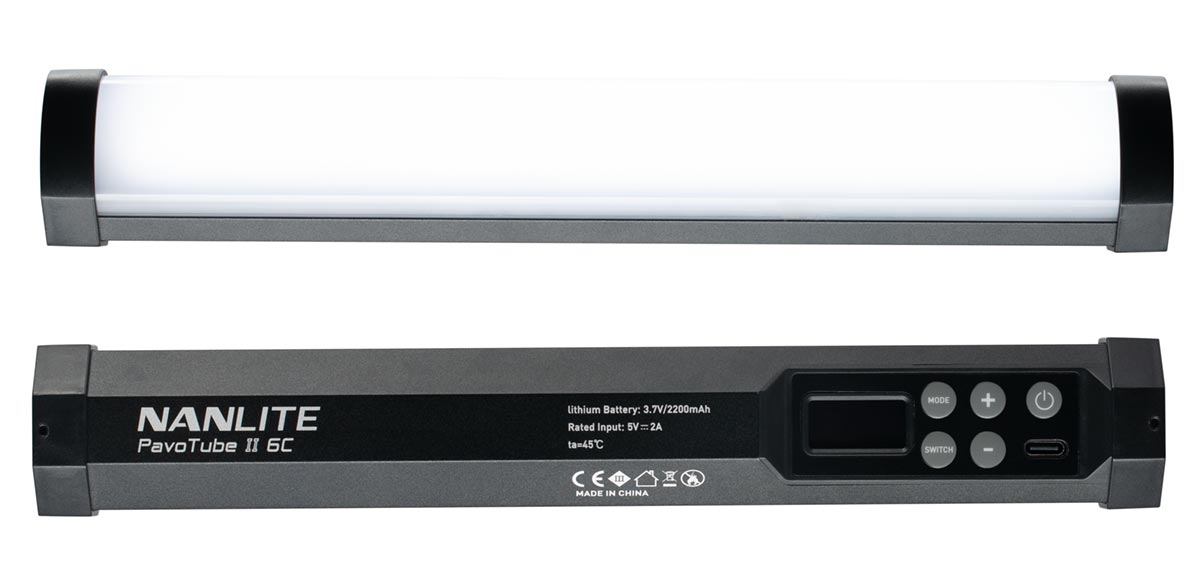
For the past six months, I’ve been working with a pair of Nanlite PavoTube II 6C wand-type lights. The 6C is a relatively inexpensive 6-watt RGBWW lighting wand that casts light over a 180-degree arc from the semi-cylindrical diffused front of the wand. Near the right end of the back is a recessed control panel with a small OLED info display, controls, and a USB-C charging port. The 6C is just under 10 inches long, including the half-inch wide bumpers on both ends, and weighs 9.07 ounces. The primary power supply is a built-in 2,200 mAH rechargeable lithium-ion battery, providing a 54-minute total power runtime.
LEDs don’t make a lot of light compared to electronic flash. The ratio of the watt-second (or joules) ratings for flash to an LED’s watts of energy is about 15 to 1. Which is to say that a 6-watt LED light such as the PavoTube II 6C creates the same amount of light as a flash set to a 0.75 watt-second. And that’s when the LED light is producing daylight white light. By comparison, an average full-size hot shoe mount speedlight at full power uses around 65 watt-seconds of electricity. Placed three feet from a state-of-the-art Sekonic meter, at its full power of 6 watts and set for 5,600K, the output from the PavoTube II 6C produces 6.7 EV. For camera settings, EV 6.7 translates to a smidgen more than f/1.4 at 1/50 second at ISO 100 or f/2.8 at ISO 400. Dial in a different color, and the amount of light produced declines.
In practical terms, if you need to freeze motion or compete with existing daylight, LED lights are not the right tool for the job. Unless you like long exposures, expect to work at higher ISO settings. But this is not an issue when shooting video indoors or after dark or doing still photography indoors or after dark.
A significant advantage of using LED lighting instruments over flash is that you can see the lighting effect without making test exposures. LED lights with red, green, and blue filtered LEDs can produce millions of colors. The nature of the problem changes to color perception: Is the color you see with your eyes the color your camera will record? To address this problem, the PavoTube II 6C, like its bigger sister the 15C, adds warm white and daylight-balanced LEDs to the mix, hence the RGBWW designation.
The two whites go a long way toward filling in the gaps in color between the red, green, and blue filtered LEDs. While your eyes may not see a difference in the color of the light produced by an RGB or RGBW and an RGBWW LED light, your camera’s sensor will. This discrepancy between seen and photographed color becomes an issue when you use the light’s controls to match a specified gel color or when the interaction between light color and subject color creates an unwanted result. While RGBWW goes a long way toward addressing these problems, if you want to produce the specific color of a gel rather than trying to dial it in, the best solution is to set the light to daylight white (5,600K) and use that gel.
The PavoTube II 6C has two primary modes, CCT (correlated color temperature) and HSI (hue, saturation, intensity), and 15 effects modes. In all modes, output brightness is adjustable in 1% increments down to zero. In CCT mode, using either the controls on the light or the Nanlite app for iOS and Android devices, color temperature can be set in 100K increments from 2,700 to 7,500K with green/magenta tint adjustable in single digits over a 200-step range. A negative G/M control setting shifts the light toward magenta, and a positive value adds a green tint.
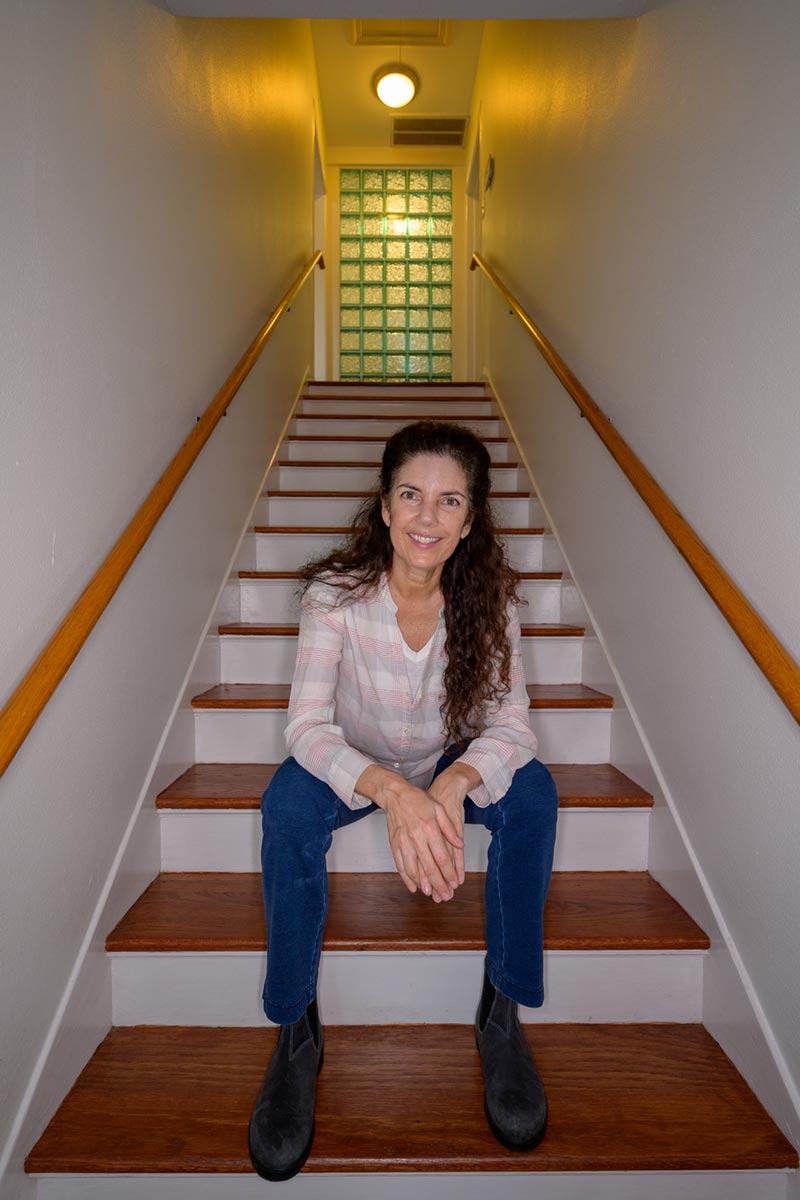
For this portrait of artist Cressandra Thibodeaux I used a pair of PavoTube II 6C lights, one on each side of the lens. Mounting the light tubes this way creates the shadowless lighting associated with a ring light but with greater control.
HSI mode gives you a more extensive color palette—essentially every visible color—to work and play with. HSI uses a standard color wheel model where the combination of hue angle and saturation describes the color, and the Dim setting determines how bright the light will be. In this color model, the hue angle of red is 0 degrees, yellow is 60 degrees, green is 120 degrees, cyan is 180 degrees, blue is 240 degrees, and magenta is 300 degrees. The axis of the color wheel is the absence of color or, in other words, white. Therefore, the lower the saturation value, the paler the light is, with 0 being white. Multiply hue by saturation by brightness (measured on a scale from 0/off to 100/full), and you get 3.6 million possible colors.
The effects modes fall into four categories: loop, flash, pulse, and simulation. In the three loop modes—Hue, CCT, and Intensity—you can select a brightness range and period for the loop from 2 to 30 seconds. In the flash modes, the adjustable interval range goes from 10 seconds down to 0.1 seconds. Interval here describes the time between the flashes of light and the flash length. The Pulse modes are similar to the flash modes but with a more gradual ramping of brightness. In Pulse mode, the number of pulses and gaps between is adjustable from 1 to 240 per minute. (See Hue cycle demo video at the end of this article.)
The lighting effect simulation modes include Lightning Storm, Police Car, Old-style Television, Paparazzi, Flickering Fire, Disco, Bad Bulb, Fireworks, Explosion, and Welding.
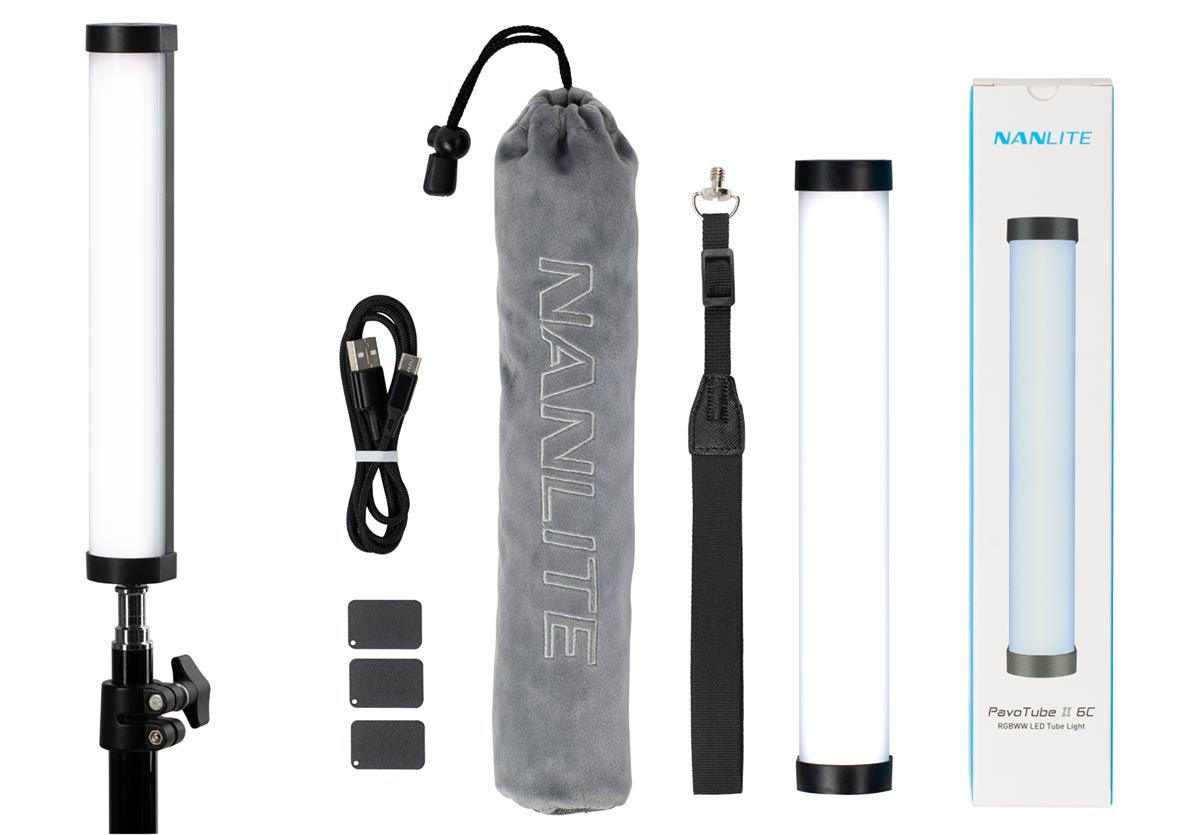
In addition to the internal battery, the PavoTube II 6C will power from an external power source through the USB-C connection. One of the Nanlite accessories I like to use is the inexpensive optional accessory extension handle for the PavoTube II 6C. The grip/battery holder screws into the 1/4"-20 socket on the end closest to the 6C control panel. When loaded with a fully charged high-quality NPF5500 battery (sold separately), the run time of the light doubles from 54 minutes (full power) to 108 minutes.
The mounting options add to the versatility of the PavoTube II 6C. There are three ways to mount the light to a stand, boom, clamp, strap, or just about anything else. Along with the 1/4"-20 threaded socket on each end of the light, the end bumpers’ side and rearfacing facets contain strong magnets for sticking the light to anything made of steel or iron. Finally, the light fits into industry standard T-12 mounts.
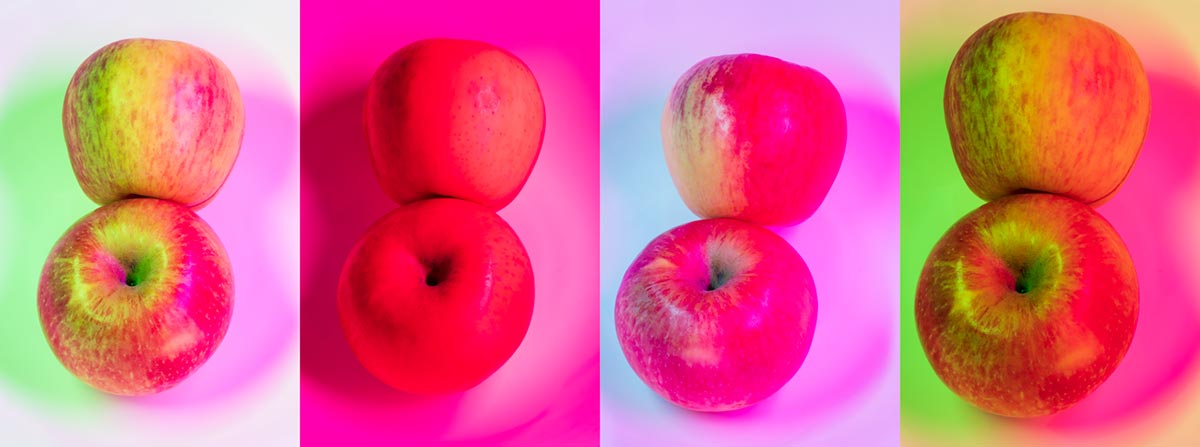
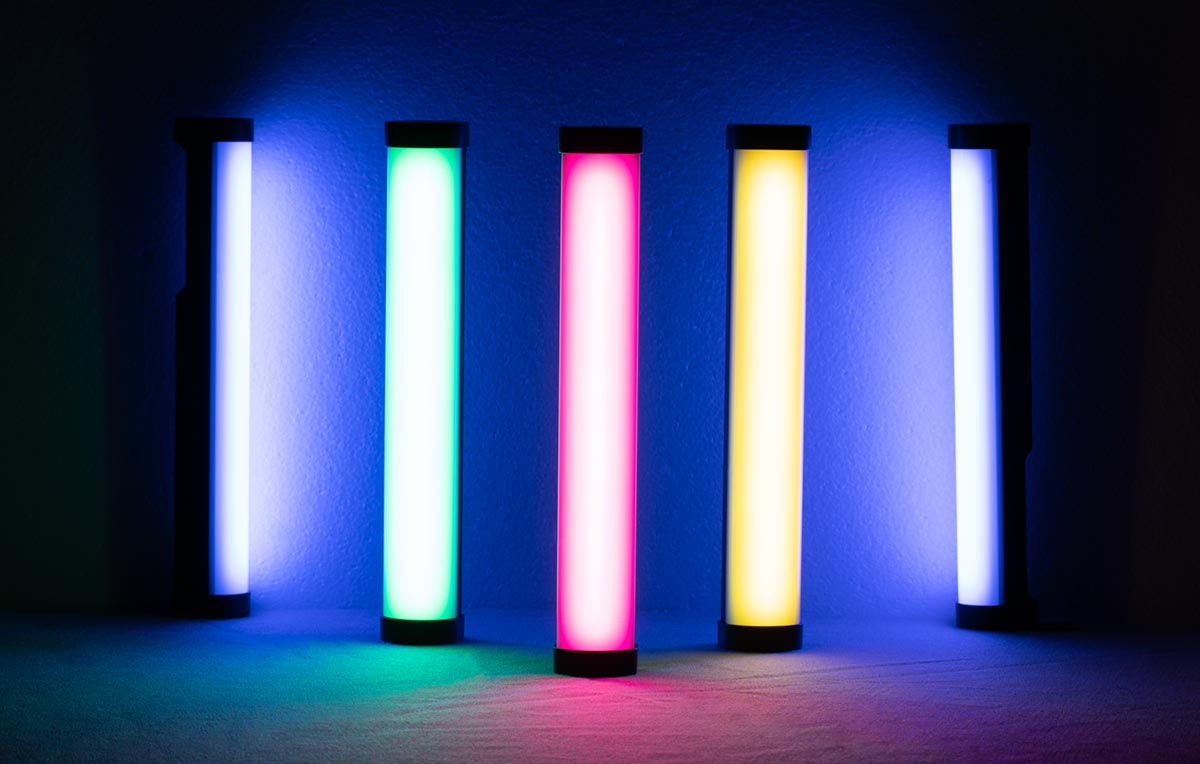
With a pair of PavoTube II 6Cs, I created different color combinations using the HSI mode. Left to right are pale green/magenta, magenta/white, blue/magenta, and green/magenta.
Nanlite makes several handy and inexpensive accessories for the PavoTube II 6C: NP-F Battery grip, a fabric grid, a remote control if you do not want to use the Nanlite app, and a
variety of mounts. The most practical accessory is the transparent polycarbonate T12 LED tube mounting clip with 1/4"-20 receivers.
The Nanlite PavoTube II 6C retails for $89 and is available through local stores and online retailers, including Adorama, Amazon, and B&H Photo Video.
Ellis Vener is a commercial photographer in Atlanta, Georgia and a contributing editor to Professional Photographer.
Tags: lighting
